


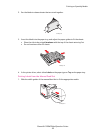


Print After Checking Printing Result - Proof Print
Phaser® 6128MFP Multifunction Printer
66
Print After Checking Printing Result - Proof Print
The Proof Print feature is enabled by default.
Note: The data stored in the RAM is erased when the printer is switched off.
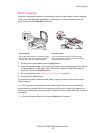
About Proof Print
Proof Print is a feature that allows you to store the print data of multiple copies in the
memory, print out only the first set to check the print result and if satisfactory, print the
remaining copies from the control panel.
Proof print data that has become redundant can be deleted using the control panel. See
Proof Printing from the Printer Control Panel on page 67.
To delete all proof print data that has become redundant, see System Setup on page 118.
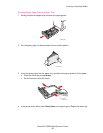
Configuring Proof Print
The procedure to configure Proof Print using the PCL print driver is as follows:
First of all, carry out the proof print settings at the computer and send data to the printer for
printing. Then, carry out the output procedure at the printer to output the printed pages.
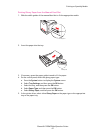
Proof Printing from the Computer
This section explains the procedure using WordPad on Windows XP as an example.
The way to display the printer Properties dialog box differs according to the application
software. Refer to the manual of your application software.
1. In the Job Type field, select Proof Print.
2. Click the Setup button.
3. In the Username field, enter your user name.
4. If you want to use a specified document name to access the document from the
control panel:
a. In the Retrieve Document Name field, select Enter Document Name.
b. In the Document Name field, enter the name that will appear on the control panel.
5. If you want the printer to automatically name the document using a time stamp, in
the Retrieve Document Name field, select Auto Retrieve.