


Calibrating with the X-Rite DTP34 QuickCal Densitometer 117
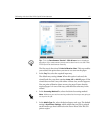
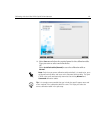
The first step in the wizard is
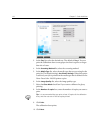
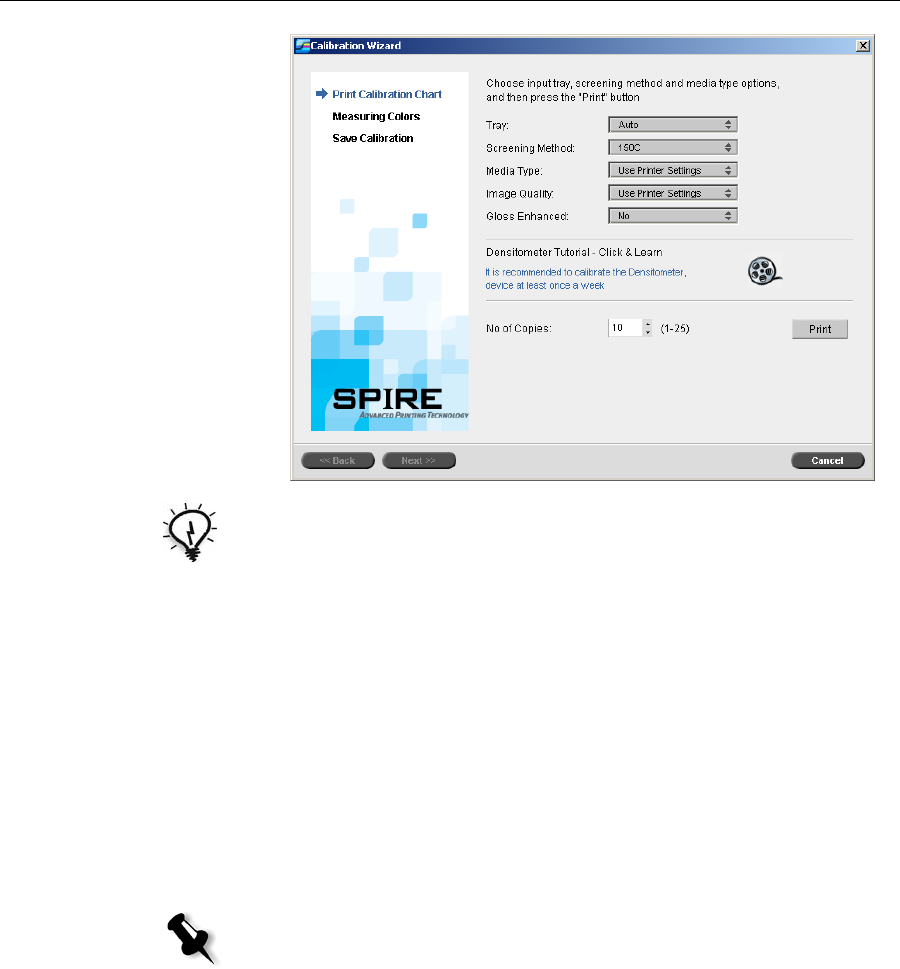
Print Calibration Chart. This step enables
you to detect the point where you start to see toner on the paper.
3. In the Tray list, select the required input tray.
The default tray setting is
Auto. When this option is selected, the
wizard looks for a tray that contains
Letter LEF or A4 LEF paper. If the
wizard does not find a tray with either of these sizes, an alert appears.
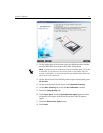
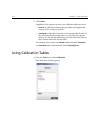
You can print calibration charts on any size paper. Ensure that the
required paper is in one of the trays, and then select that tray in the
wizard.
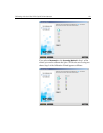
4. In the Screening Method list, select the desired screening method.
5. In the Media Type list, select the desired paper stock type. The default
setting is
Use Printer Settings, which means that your job is printed
on the media type that is defined on the Xerox DocuColor 240/250
printer-copier.
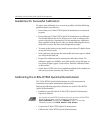
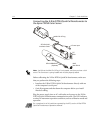
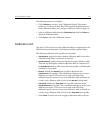
Tip: Click the Densitometer Tutorial - Click & Learn icon to display an
animation of the measurement process and to learn how to use the X-Rite
DTP34 QuickCal densitometer correctly.
Note: Make sure you set the screening method to the one you are going to
use to print the job.