


142 Chapter 8– System Administration
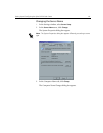
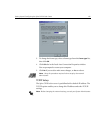
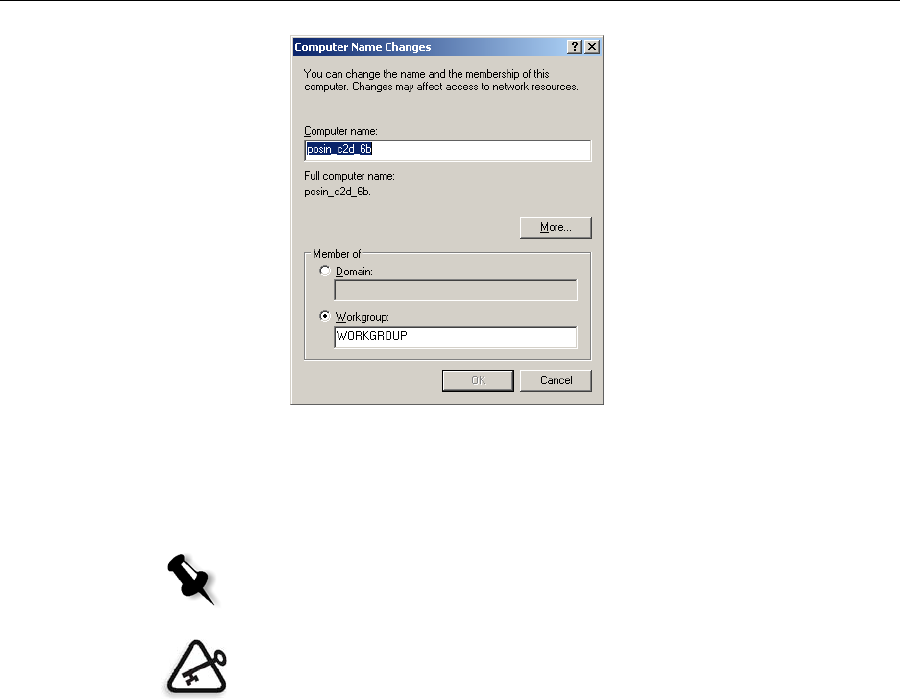
4. In the Computer Name box, type a new name for the computer.
5. If you want to change the Workgroup or the Domain in which your
computer appears, select the desired option and type a new name in
the corresponding box.
6. Click OK.
7. Click OK in the System Properties window.
The system prompts you to reboot your computer for the new settings
to take effect.
8. Click No if you want to change other system parameters, or click Yes
and reboot your computer.
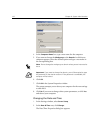
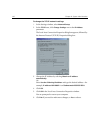
Changing the Date and Time
1. In the Settings window, select Server Setup.
2. In the Date & Time area, click Change.
The Date/Time Properties dialog box appears.
Note: Do not change the workgroup or domain unless you are instructed to
do so.
Important: If you want to change the domain, you will be required to type
the password for the domain account. If the password is unavailable, the
computer will be locked.