


78 Chapter 4– Basic Workflows
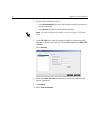
7. In the Basic Scanning, Image Quality, Scan Options and Output
Format
tabs, change the settings as desired.
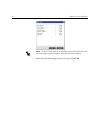
8. Press the Start button.
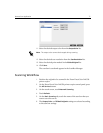
The original is scanned. A beep is heard when the scan is complete.
The scan is saved in the selected scan box with the name
<scan box
name>001
and with the relevant file extension.
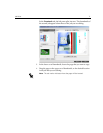
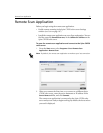
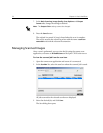
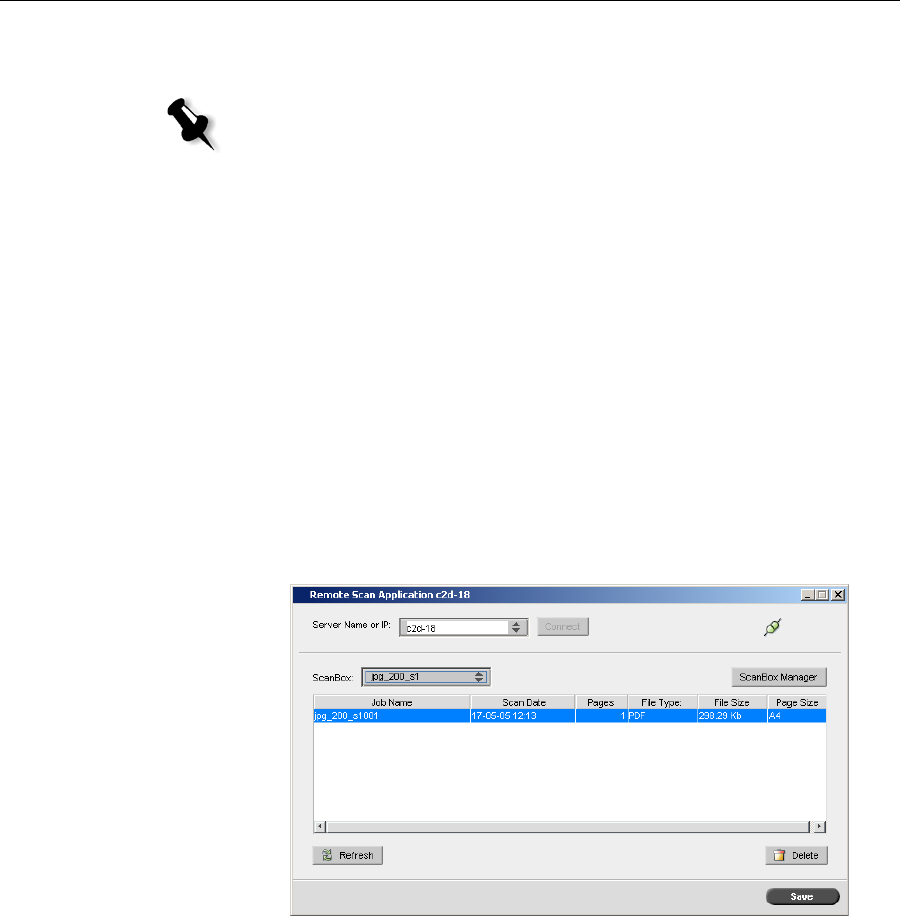
Managing Scanned Images
Once a scan is performed, you can view the job using the remote scan
application, or browse to
D:\PublicScans on the Spire CX250 color server.
To view the scanned job from the scan box:
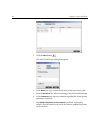
1. Open the remote scan application and ensure it is connected.
2. In the ScanBox list, select the scan box where the scanned job is saved.
All jobs scanned to the selected scan box are displayed.
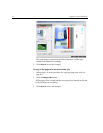
3. Select the desired job, and click Save.
The Save dialog box opens.
Note: The Output Color settings cannot be changed.