118 Chapter 7– Color Workflow
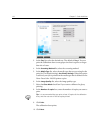
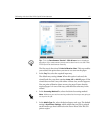
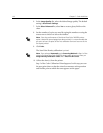
6. In the Image Quality list, select the desired image quality. The default
setting is
Use Printer Settings.
7. In the Gloss Enhanced list, select Yes to create a glossy finish on the
chart.
8. Set the number of copies you need by typing the number or using the
arrows next to the box to select the number.
9. Click Print.
Th
e Start Point Density calibration is printed.
10. Collect the chart(s) from the printer.
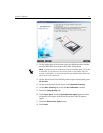
Step 2 of the Color Calibration Wizard appears. In this step you scan
the start point chart so that the wizard can measure each separation
and find the point at which the toner appears on the paper.
Note: Since the performance of the Xerox DocuColor 240/250 printer-
copier is best after several pages have been printed, it is recommended that
you print at least 10 copies of the first calibration chart and use one of the
last copies printed.
Note: If you selected Automatic as the Screening Method in Step 1 of the
wizard, the Xerox DocuColor 240/250 printer-copier prints two charts, an
Image Density Calibration Chart and a Text/Line Art Chart.


