


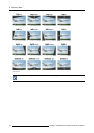

8. Geometry Menu
3. Push the ↓ key to pull down the Geometry menu.
4. Push the cursor key ↑ or ↓ to highlight Edit.
5. Push the → key to pull down the Edit menu.
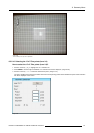
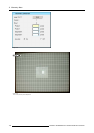
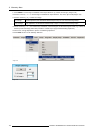
6. Push the cursor key ↑ or ↓ to highlight Transport Delay... and press ENTER to select. (image 8-119)
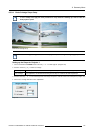
The Transport Delay dialog box will be displayed. (image 8-120)
7. Use the cursor key ← or → , the numeric keys on the RCU, or the local keypad, to edit and change the value of the Transport
Delay.
Note: T he Transport Delay is by default set to 200.
The Transport Delay Range can be se t from 0 to 1023.
Tip: When the transport delay needs to be adjusted In a mu lti channel setup, first ad just th e transport delay of all projecto rs
one by one, leave the projector with the maximum v alue, then set all other projectors to this m aximum value.
8. Press BACK to return to the Geometry Edit menu.
Image 8-119
Image 8-120
8.5.8 Blanking
This menu item will be grayed out when Blanking / Softedge is set to Off (see "Blanking – Softedge", page 62).
What can be
done?
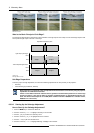
Blanking adjustments affect only the edges of the projected image and are used to frame the projected image on the screen and to
hide unwanted image information (or noise).
How to setup a Blanking Shape?
1. Press the MENU key to activate the Menu bar.
2. Push the cursor key ← or → to highlight Geometry in the menubar.
3. Push the ↓ k
ey to pull down the Geometry menu.
4. Push the cursor key ↑ or ↓ to to highlight Edit in the menubar.
5. Push the → key to pull down the Edit menu.
6. Push the cursor key ← or → to highlight Blanking / Softedge in the menubar.
7. Push the → key to pull down the Blanking / Softedge menu.
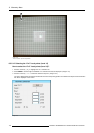
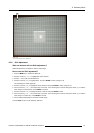
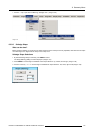
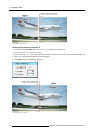
8. By default Shape (Blanking) is already selected, press ENTER to select. (image 8-121)
The Shap e (B
lanking) dialog box will be displayed. (image 8-122)
R5976870 BARCOREALITY SIM 5PLUS/SIM 5R 04/04/2007
139