


7. Image Menu
7.5.1 Introduction
What can be done?
Within the Windowing menu it is possible to perform some basic image adjustments while keeping the pre-distorted WARP 6™
geometry settings of the image.
7.5.2 Starting Up Windowing
How to Start Up Windowing?
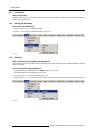
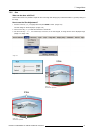
1. Push the cursor key ↑ or ↓ to highlight Windowing.
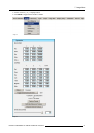
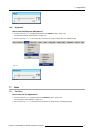
2. Push the → key to pull down the Windowing menu. (image 7-27)
Image 7-27
7.5.3 Blanking
What can be done with the Blanking Adjustment?
With the Blanking function it is possible to black out the side(s) of the image while keeping the pre-distorted WARP 6™ geometry
settings of the image.
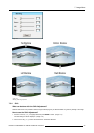
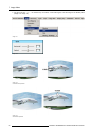
How to use the Blanking Adjustment?
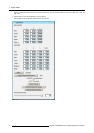
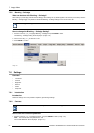
1. By default Blanking is already selected, press ENTER to select. (image 7-28)
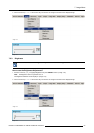
The Blanking dialog box will be displayed. (image 7-29)
2. Use the cursor key ↑ or ↓ to select the desired side e.g. Top.
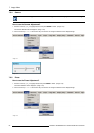
3. Use the cursorkey ← or→ , the numerickeys on theRCU, orthe local keypad, toblack out theside(s) of theimage. (image 7-30)
Image 7-28
58 R5976870 BARCOREALITY SIM 5PLUS/SIM 5R 04/04/2007