5-111
FAX-L1000 Chapter 5: Appendix
b-6) Check after the Kit Installation
After installing the kit, carry out the following procedure to ensure that the kit is properly
identified by the main unit.
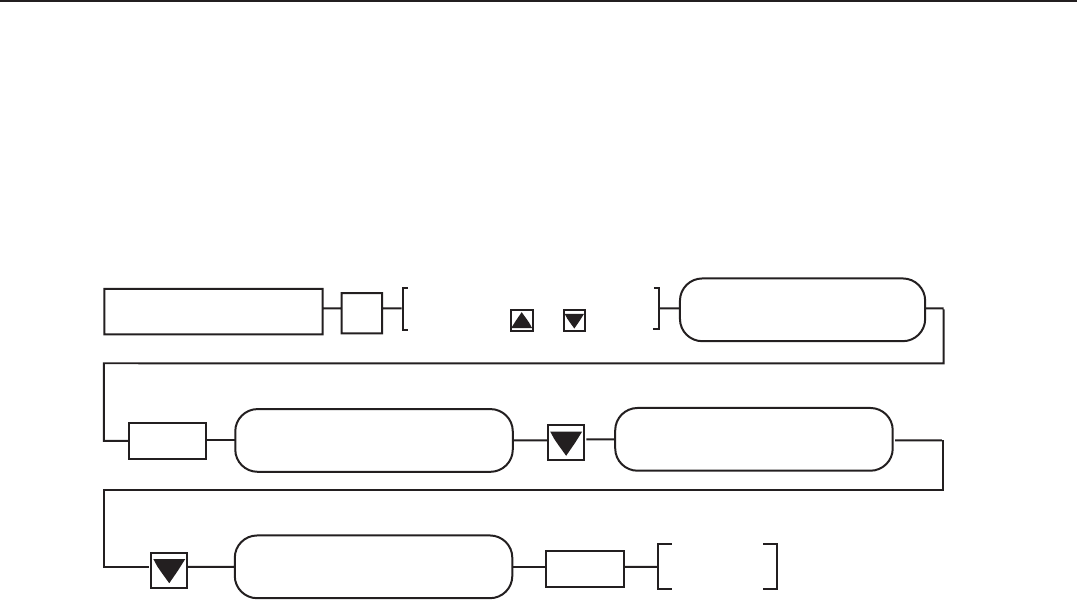
(1) Referring to the flow chart, enter service data registration, then check that the ROM
versions are displayed.
Figure 5-54 ROM Version Check
(2) After confirming this, push the Stop button, which will put the machine into a
standby condition.
(3) If the ROM versions are not displayed, return to
b-3) Attaching the kit
or
b-4)
Replacing the ROM
, re-attach the kit or the ROM, and then re-check the display.
(4) Perform a communications test to make sure that transmission and reception are
normal.
(5) If a problem occurs during the test, perform the following:
.
Check that the ISDN cable is securely connected.
.
Check that the kit is securely connected.
.
Refer to the
Service Manual, Chapter 5, 3.6.7 Maintenance and service.
b-7) Removing the kit
When removing the kit or the ROM, perform the steps in
b-3) Attaching the kit
or
b-4)
Replacing the ROM
, in reverse order. Be sure to remove them only after turning the
power off.
Data Registration
#
SERVICE MODE
#9 ROM
Set
MAIN: EC-01-01
991208 C114 FFFF
OPT: EC-01-01
991208 D96B FFFF
OPT2: EC-01-01
991208 824C FFFF
Standby
Stop
Display #9 ROM by
pressing or button
Main ROM version on SCNT board Main ROM version on G4 board
Slave CPU (V853) version on G4 board
