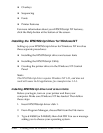
4. Select your operating system and click OK. You see a message
about renaming the WIN.INI file to WIN.BAK.
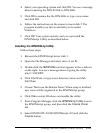
5. Click OK to rename the file WIN.BAK or type a new name
and click OK.
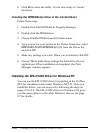
6. Follow the instructions on the screen to insert disk 2. The
program installs your driver and tells you to restart
Windows.
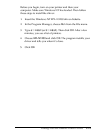
7. Click OK. Your system restarts, and you can install the
EPSONScript Utility as described below.
Installing the EPSONScript Utility
Follow these steps:
1. Reinsert the EPSONScript driver disk 1.
2. Open the File Manager and select drive A (or B).
3. Double-click the SETUP.EXE icon that appears in the windows
on the right. You see a message about copying the utility
into C:\ESCRIPT.
4. Click Continue, or type a new directory name and click
Continue.
5. Choose Yes to see the Release Notes. When setup is finished,
new icons will be registered in the EPSONScript group.
6. Click Yes to restart Windows and enable the utility.
7. From Program Manager, click the EPSONScript Utility icon in
the EPSONScript group, and then click the Create Driver
tab.
8. Select EPSON EPL-N1200 EPSONScript (LT) and click the
Create button.
Printing With the Windows Printer Drivers
2-19


