


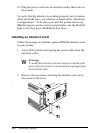
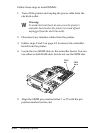
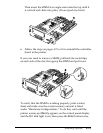
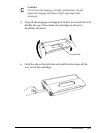

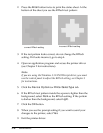

Then insert the SIMM at an angle and rotate the top until it
is vertical and clicks into place. (Do not push too hard.)
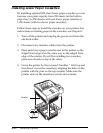
6. Follow the steps on pages 4-7 to 4-8 to reinstall the controller
board in the printer.
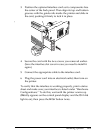
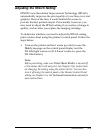
If you ever need to remove a SIMM, pull back the metal clips
on each side of the slot; then grasp the SIMM and pull it out.
To verify that the SIMM is working properly, print a status
sheet and make sure the correct memory amount is listed
under “Hardware Configurations.” To do this, wait until the
printer warms up (
Ready
appears on the control panel display
and the
On Line
light is on); then press the
Enter
button twice.
Installing Options
4-15