Reference Manual for the ProSafe Wireless 802.11g Firewall/Print Server Model FWG114P v2
8-40 Virtual Private Networking
201-10301-02, May 2005
Note: If the configuration settings on this screen are not available for editing, go to the
Options menu, select Secure, and Specified Options to enable editing these settings.
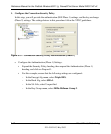
From the Edit menu of the Security Policy Editor, click Add, then Connection. A “New
Connection” listing appears. Rename the “New Connection” to FWG114P v2.
b. Ensure that the following settings are configured:
– In the Connection Security box, Secure is selected.
– In the Protocol menu, All is selected.
– The Connect using Secure Gateway Tunnel check box is selected.
c. In this example, select IP Subnet as the ID Type, 192.168.0.0 in the Subnet field (the
Subnet address is the LAN IP Address of the FWG114P v2 with 0 as the last number), and
255.255.255.0 in the Mask field, which is the LAN Subnet Mask of the FWG114P v2.
d. In the ID Type menus, select Domain Name and Gateway IP Address. Enter FWG114P
v2 in the Domain Name field. In this example, 66.120.188.153 would be used for the
Gateway IP Address, which is the static IP address for the FWG114P v2 WAN port.
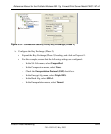
3. Configure the Connection Identity Settings.
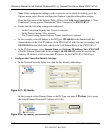
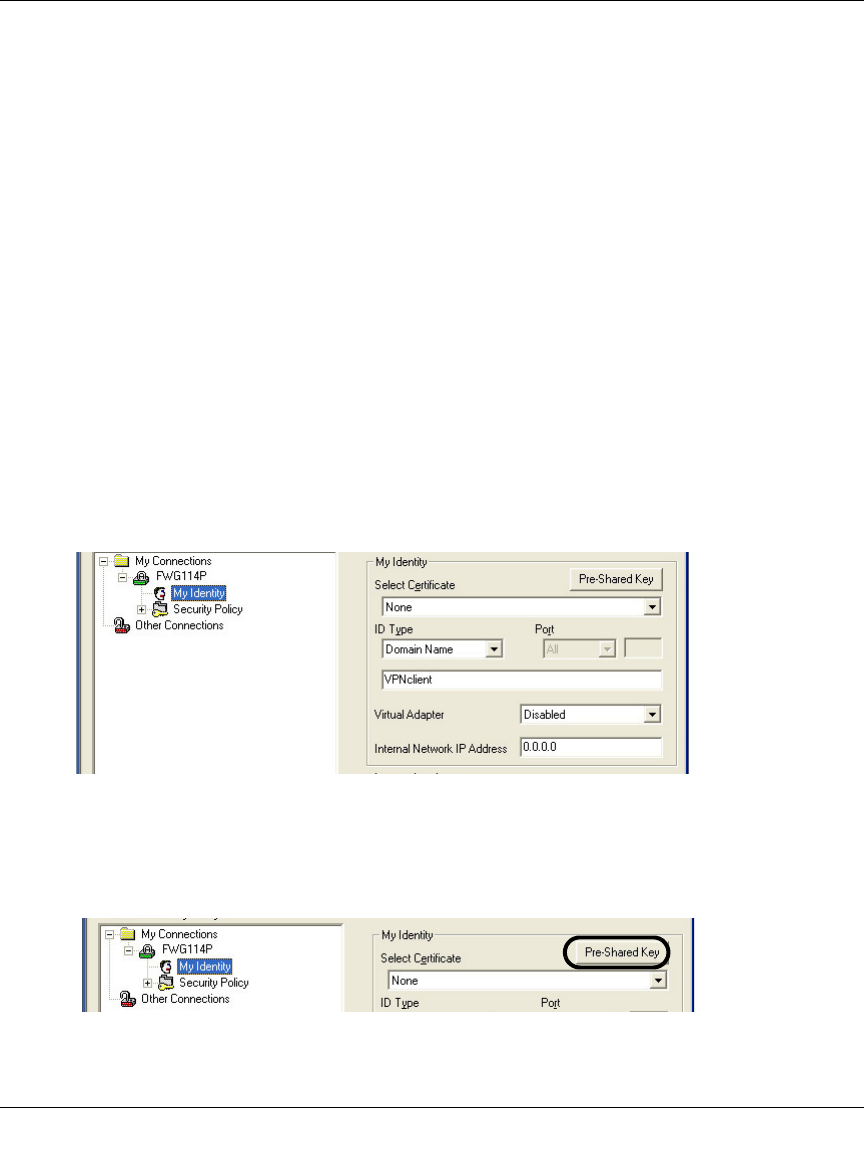
a. In the Network Security Policy list, click the My Identity subheading.
Figure 8-27: My Identity
In this example, select Domain Name as the ID Type, and enter VPNclient. Also, accept
the default Internal Network IP Address of 0.0.0.0.
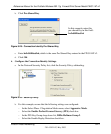
Figure 8-28: My Identity Pre-Shared Key


