


Reference Manual for the ProSafe Wireless 802.11g Firewall/Print Server Model FWG114P v2
Connecting the FWG114P v2 to the Internet 3-9
201-10301-02, May 2005
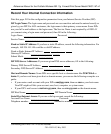
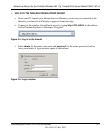
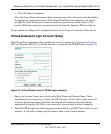
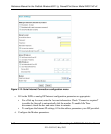
4. RUN THE SETUP WIZARD TO CONNECT TO THE INTERNET
Figure 3-8: Setup Wizard
a.
You are now connected to the router. If you do not see the menu above, click the Setup
Wizard link on the upper left of the main menu.
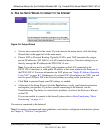
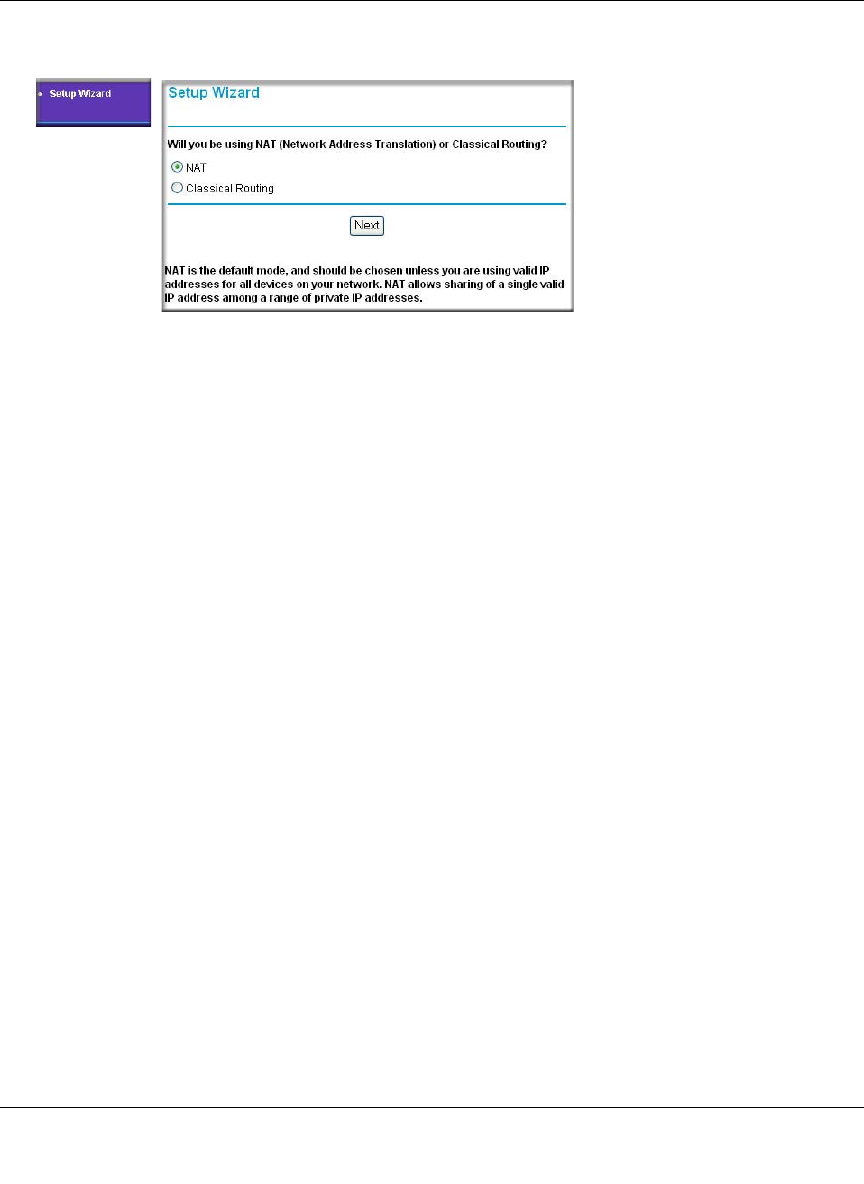
b. Choose NAT or Classical Routing. Typically, NAT is used. NAT automatically assigns
private IP addresses (192.168.0.x) to LAN connected devices. Classical routing lets you
directly manage the IP addresses the FWG114P v2 uses.
Note: If you choose not to use NAT, each computer on the LAN connected to the
FWG114P v2 must have a valid public IP address in the same subnet as the Wan port of
the FWG114P v2. For more information on NAT, please see “Single IP Address Operation
Using NAT” on page B-7. Furthermore, if you turn NAT off and plan to use VPN, you will
have to open UDP port 500 in the Security settings according to the instructions at
c. Click Next to proceed. Input your ISP settings, as needed.
d. At the end of the Setup Wizard, click the Test button to verify your Internet connection
and register your product. If you have trouble connecting to the Internet, use the
Troubleshooting Tips below to correct basic problems, or refer to the Reference Manual
on the CD.
If you were unable to connect to the firewall, please refer to Basic Functioning “Basic
Functioning” on page 11-1.
You are now connected to the Internet!
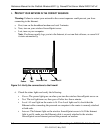
Note: For wireless placement and range guidelines, and wireless configuration instructions, please
see Chapter 4, “Wireless Configuration.”