3–Interactive Commands
Diagnostics Menu (Command Line Options -kl, -kr, and -dm)
3-84 SN0054614-00 K
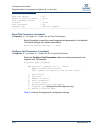
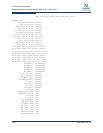
1 = Loopback Test
2 = Read/Write Buffer Test
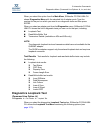
4. The Read/Write Buffer Test Menu appears. Select one of the following
options:
1. Display Test Parameters. Type 1 to show the current parameter
values.
2. Reset Test Parameters. Type 2 to return all parameters to their
default values.
3. Configure Test Parameters. Type 3 to customize any or all of the
parameter values. Continue with Step 5.
4. Start Diagnostics Test. Type 4 to run the read/write buffer test with
the current parameter values. To see these values, type 1 (Display
Test Parameters).
5. Return to Previous Menu. Type 5 to go back to the main
Diagnostics Menu.
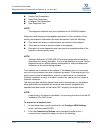
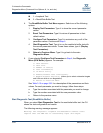
6. If you selected Configure Test Parameters in Step 4, the Diagnostic
Menu (R/W Buffer) appears. For example:
1: Data Pattern
2: Data Size
3: Number of Test(s)
4: Test Increment(s)
5: On Error Policy
6: Enable/Disable Test Continuously
7: Enable/Disable Device(s) (allows you to select or deselect targets
and LUNs on which to run diagnostics)
8: Return to Previous Menu
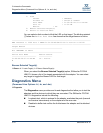
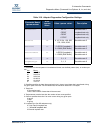
See Table 3-10 on page 3-81 for a description of the parameters and their
values. For each parameter you want to change, follow these steps:
a. Type the number associated with the parameter you want to change.
b. Type the number associated with the new parameter value.
c. Return to the previous menu.
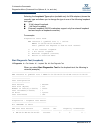
Start Diagnostic Test (Read/Write Buffer)
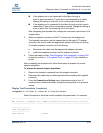
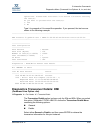
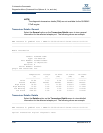
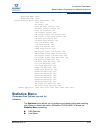
When you select Start Diagnostics Test for the read/write buffer test, the CLI
shows the test configuration and results.
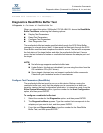
The following warning message appears:
Warning: The Diagnostic Loopback and Read/Write Buffer tests
require that the HBA has no outstanding input and output


