


Setting the Date and Time
Your fax machine has an internal clock. It controls the following features.
❐ The time display on the operation panel while the machine is idle.
❐ Operation of time-delay features like Send Later.
❐ The date and time that is printed out on pages that you receive, if Reception
Time is switched on.
❐ The date and time that is printed out at the other end on pages received from
your machine.
Program the correct date and time when you install the machine.
Cross-references:
Sending at a Specific Time: see pae 34
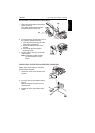
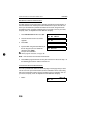
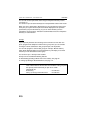
1. Press Function 6 2 2 2 2 9 1 and Yes.
Example: Change to 09 May ’95, at
10:25AM
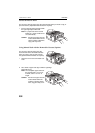
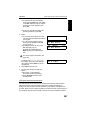
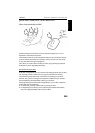
2. Change the month using ✽ or # (✽ to
scroll forward, or # to scroll backward)
on the ten key pad and press to
move the cursor.
3. Change the date with the ten keypad as
09.
4. Type in the year and time at the keypad
as 9 5 1 0 2 5.
5. Change AM/PM using ✽ or # on the ten
key pad.
6. When the display is correct, press Yes
Function.
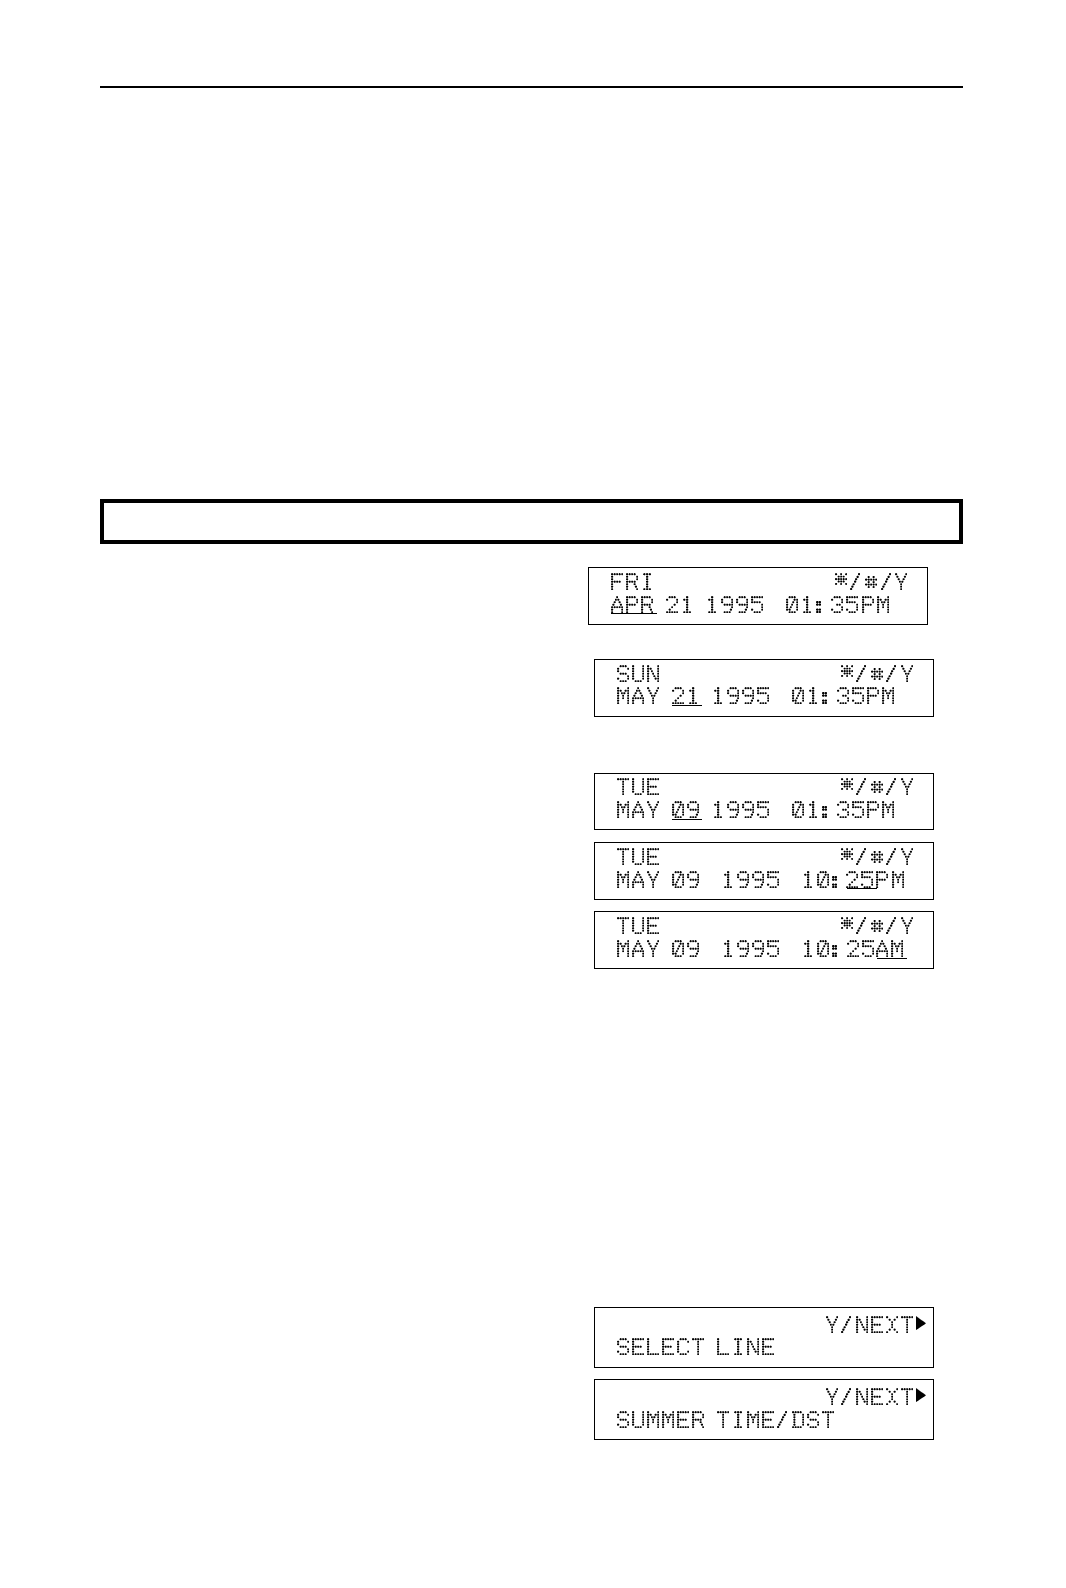
Summer Time/DST (Daylight Saving Time)
Whenever local custom requires advancing the clock or setting the clock back,
use this feature. You can easily move the clock forwards when daylight saving
time begins, and back when it ends.
❐ When you install the machine for the first time, take care that the setting is
correct before you set the date and time.
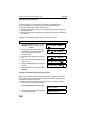
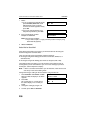
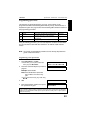
1. Press Function 6 2 2 2 2 6 2 and Yes.
2. Press until the screen is as shown oppo-
site, and then press Yes.
SOME ITEMS MUST BE PROGRAMMED FIRST APPENDIX
204