4.9 CPU 4 Replacement Procedures
3. Press the CPU softly with your fingers and turn the cam on the CPU socket to the closed
position with a flat-blade screwdriver to secure the CPU.
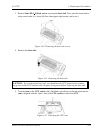
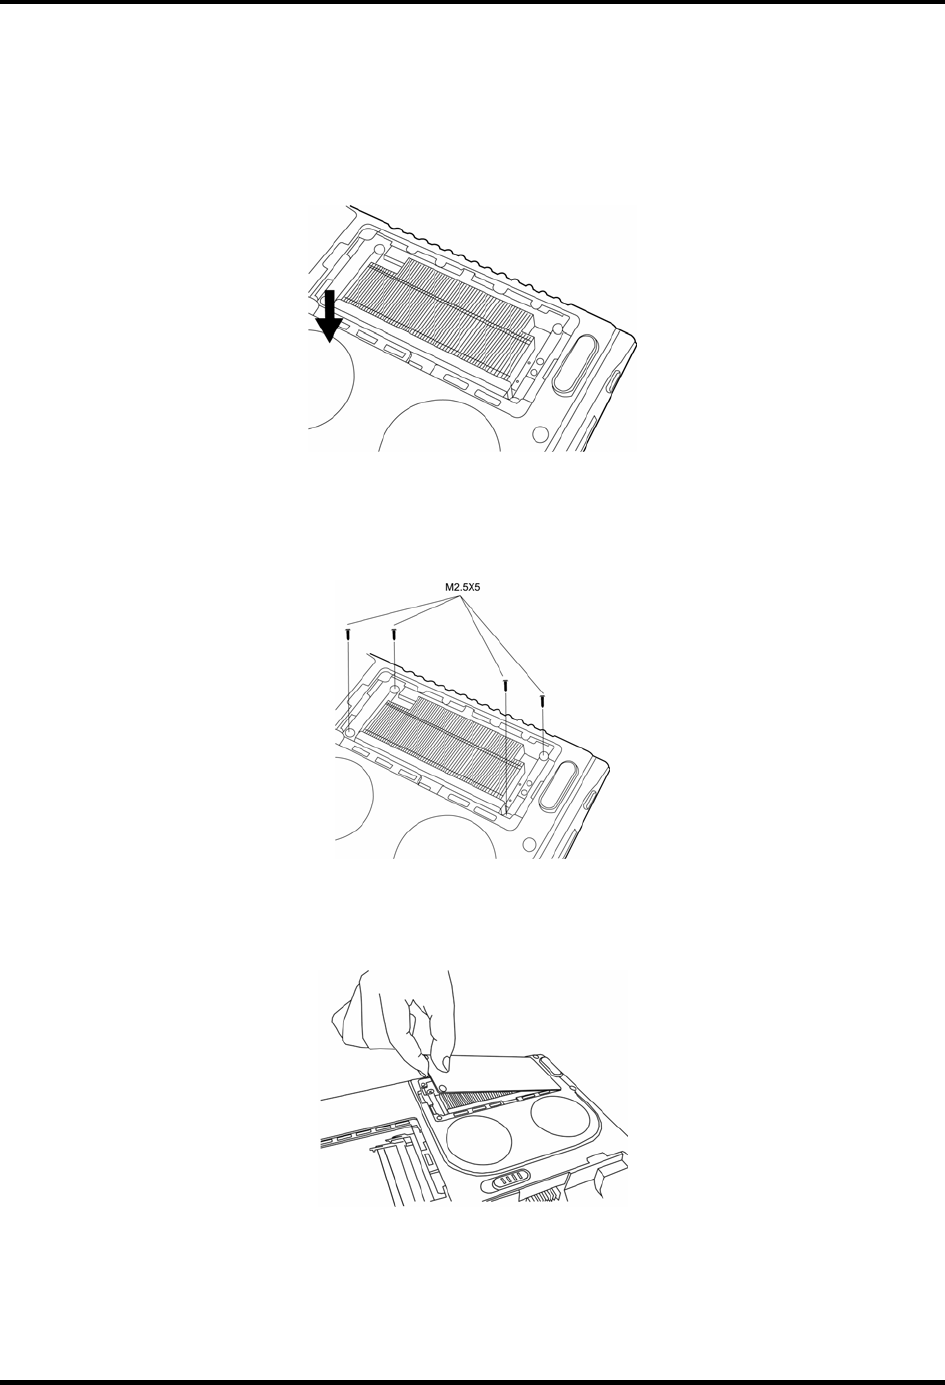
4. Seat the heat sink over the CPU making sure that the heat sink is oriented so that the
two knobs in the CPU compartment secure it.
Figure 4-36 Inserting the heat sink
5. Secure the heat sink with four M2.5×5 black screws. The screws must be put tightened
in a catty- corner order (i.e. lower-left first, then upper right second, etc.)
Figure 4-37 Tightening the heat sink screws
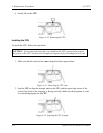
6. Replace the CPU compartment cover.
Figure 4-38 Replacing the CPU compartment cover
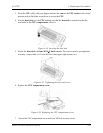
7. Secure the CPU compartment cover with two M2.5×4 security screws.
Satellite A30 Series Maintenance Manual 4-25


