26
Copying
3. Choose from one of the following resizing options:
■
Click
Standard Size
and choose the size of your
original from the
Standard Size
list.
■
Click
Automatic
, then click
Recognize Test
. Your
original goes into the scanner, and previews appear in
the
Source Image
and
Output Image
boxes.
■
To adjust the output image manually, select
User
Area selection
, and then click
Preview
. Your original
goes into the scanner, and previews appear in the
Source Image
and
Output Image
boxes.
To resize the image manually, click and drag the frame
around the Output Image.
To define the area you want to copy, click and drag the
frame around the Source Image. The results are
immediately visible on the Output Image.
4. Click
OK
to return to the control panel.
Making Advanced Settings
You can automatically enhance your photograph or text, adjust
photo layout, apply a blue or sepia tint, and change your
image’s brightness, contrast, and saturation.
1. Click
More settings
on the Copy Utility control panel.
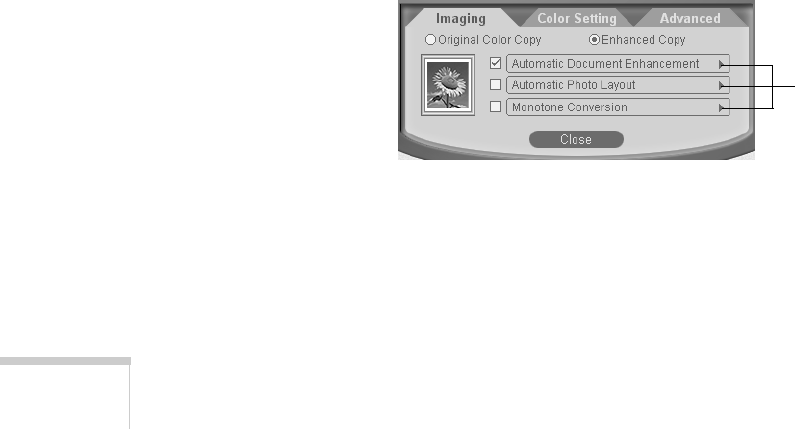
You see this box:
2. On the Imaging tab, select
Enhanced Copy
, if necessary.
Click the
arrows to see
more options.
