52
Printing
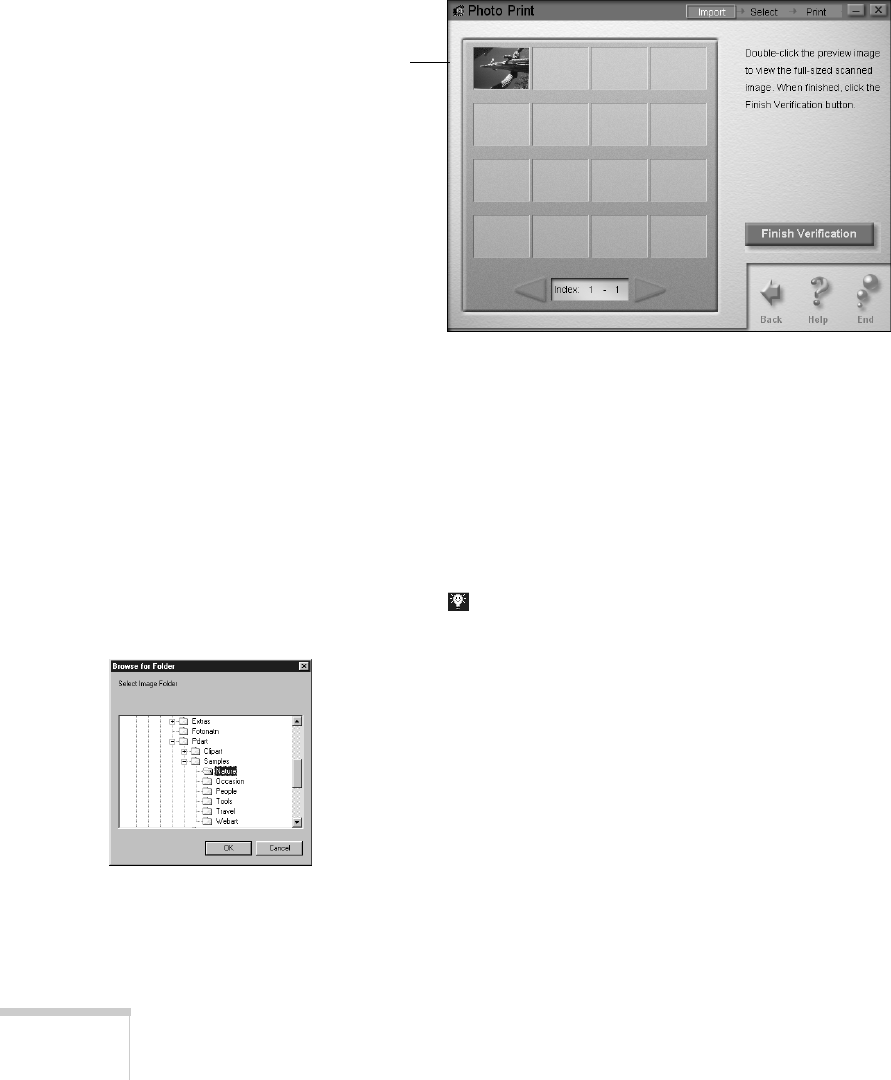
6. If you want to scan more photos, click
Yes
and repeat steps
4 and 5 above. If you’re finished scanning, click
No
. You
see your photo(s) in a window like this:
7. If you’re not happy with an image, you can click the Back
arrow and scan it again. When you’re done, click
Finish
Verification
.
Then continue with the steps in “Printing Your Photos” on
page 53.
Opening Images on Your Computer
1. Click on the Windows taskbar to open the Smart Panel.
Then click the
Photo Print
icon. You see the Photo Print
welcome.
2. Click
Start
. The Photo Print window opens.
3. Click
File from Disk
. You see a Select Folder window, as
shown to the left.
4. Locate your image folder. Then click
OK
. You see your
image(s) displayed briefly on the screen. Then you see the
window in the next section.
Continue with the instructions on the next page.
For a closer look,
double-click an
image to open it
in the Image
Viewer window.
See page 75 for
more information.


