


Printing
47
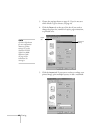
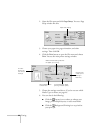
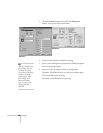
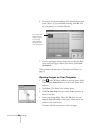
3. Click the
Custom
button, then click the
Custom
Settings
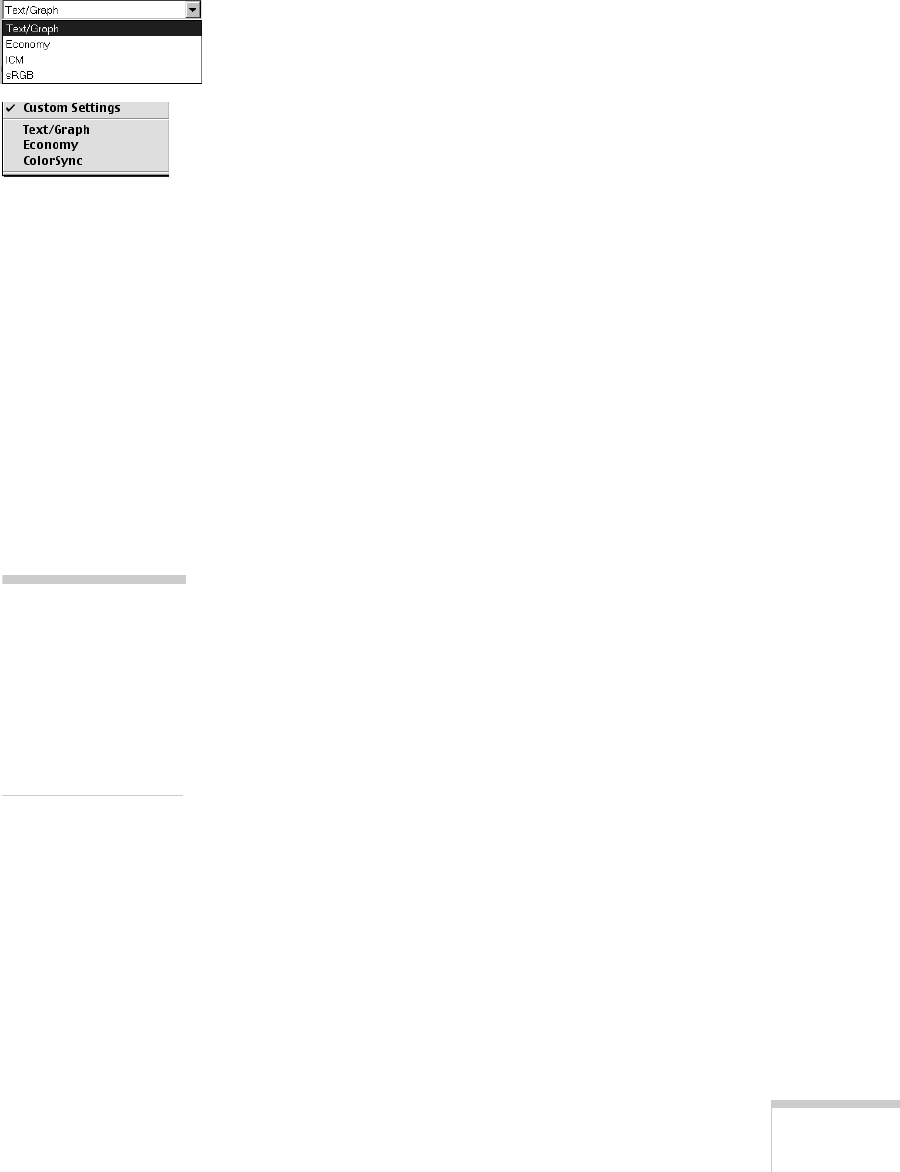
list. You see a list of custom project types, as
shown at the left. Select one of the types listed below:
■ Text/Graph
: For printing graphics-intensive
documents like presentations with charts and graphs.
Intensifies colors.
■ Economy:
For rough drafts on plain paper. Saves ink.
W
■ ICM:
(Image Color Matching)
For printing documents created in an ICM compatible
application and matching monitor colors as closely as
possible (recommended for Windows 98 only).
W
■ sRGB
(standard Red Green Blue): For printing
documents created in an sRGB compatible application
using sRGB colors, such as those designed for the Web.
See your Windows 98 on-screen help for details
(recommended for Windows 98 only).
M
■ ColorSync
(Macintosh only): Automatically adjusts
printout colors to closely match the colors on your
screen.
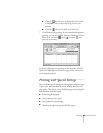
4. Select any other settings you need to change, then click
OK
twice (Windows) or click
Print
(Macintosh).
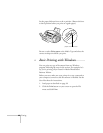
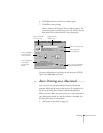
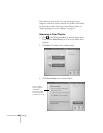
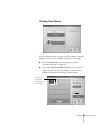
Using Advanced Print Settings
For maximum control over your projects, you can use advanced
settings. You can even save your advanced settings as a group so
you can use them whenever you print a similar project.
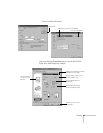
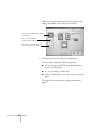
1. Follow the instructions in the previous section to open your
EPSON Stylus Scan 2000 Properties window (Windows)
or print options (Macintosh).
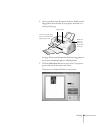
2. Select the correct Media Type setting for your paper and
choose
Color
or
Black
Ink.
note
For complete
instructions on using all
your printer software’s
custom settings, see the
electronic EPSON
Stylus Scan 2000
Reference Guide.