


Settings for NetWare
4-23
1. Turn on the printer with the network adapter.
2. From any NetWare client, log in to the server as a
SUPERVISOR. Make sure to log in with Bindery connection.
Note:
If the client using for this setting has been logged in with NDS mode,
press F4 key while PCONSOLE is starting to switch to the bindery
mode.
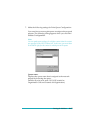
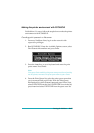
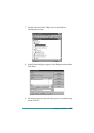
3. Run PCONSOLE. From the Available Options screen, select
Print Queues
and press
Enter
. Press
Insert
and type the print
queue name. Press
Enter
.
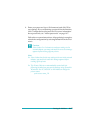
Note:
Since your clients need the print queue name you set here when they
use the printer, announce the print queue name to your clients.
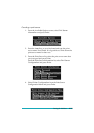
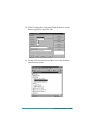
4. From the Print Queue list, select the print queue name that
you just entered and press
Enter
. From the Print Queue
Information list, select
Queue Users
and press
Enter
. Next,
select
EVERYONE
from the list. If
EVERYONE
is not in the list,
press
Insert
and select
EVERYONE
from the queue user list.
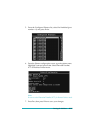
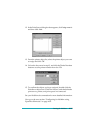
5. From the Available Options screen, select
Print Servers
and
press
Enter
. Press
Insert
and type the print server name. Press
Enter
.
6. Press
Esc
to exit PCONSOLE, and log out from the server.
7. Log in to the server as an ADMIN. Be sure to log in with NDS
connection.
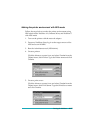
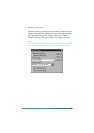
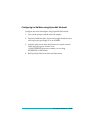
8. Start NWAdmin.
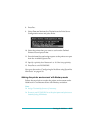
9. To create the Printer Object, click the container specified as
the Bindery context and select
Create
from the Object menu,
then
Printer
. Type the printer name and click
Create
.