EPSON Stylus Scan 2500 Revision A
Adjustment Using the Service-Adjustment Program 117
5.3.2 Openning the Start-up menu
1. Connect the printer and PC and turn on the printer.
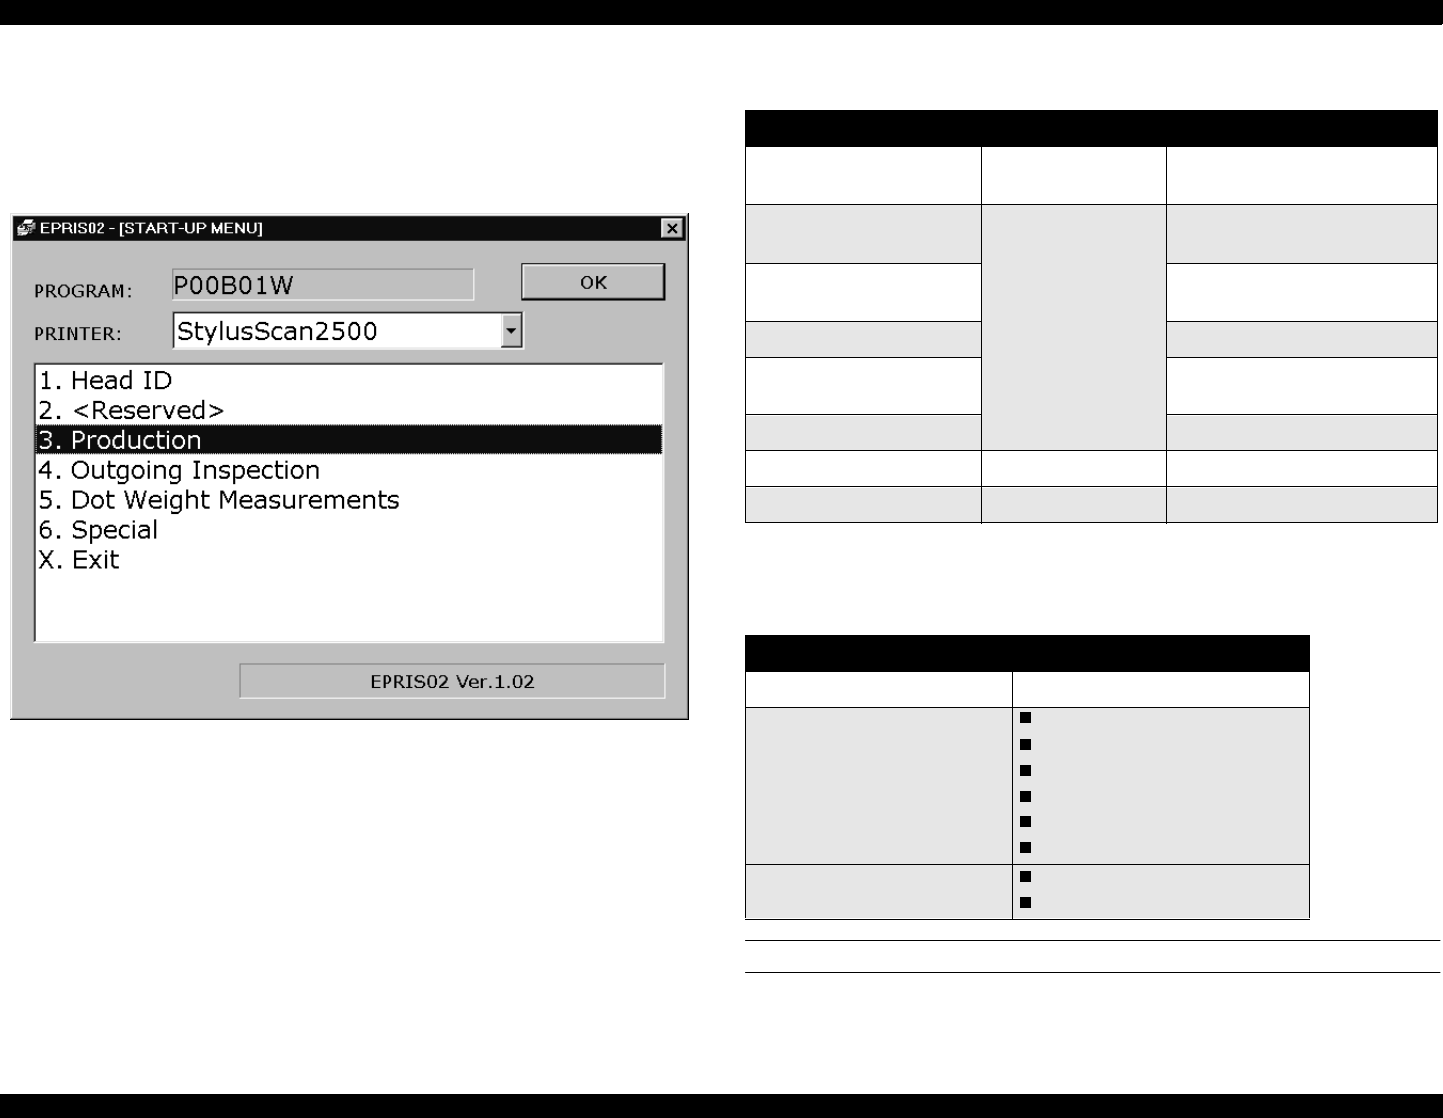
2. From the Start menu, select Programs>Program for
Production>P00B01W The following screen appears.
Figure 5-4. Inital Menu
From the Startup menu you need to choose Head ID or Production depending
on the adjustment procedure you perform. See the table below for details.
The following table gives a list of adjustment that are available on the service-
related menus. Other menus and items are for production purposes only.
HEAD ID MENU
To enter the Head ID menu, follow these steps.
Table 5-4. Software-based Adjustment Procedures
Adjustment procedure See Then see
Input the head voltage
“Head ID Menu” on
page 117
“Head Voltage ID Input” on
page 124
Charge ink
“Production Menu”
on page 120
“Initial Ink Charge Operation”
on pag e122
Adjust normal Bi-d
“Bi-D Adjustment” on
page 122
Adjust variable Bi-d
Clean the printhead
“Head Cleaning Operation”
on pag e123
Drain ink “Ink draining” on pag e126
Reset EEPROM Special
Clear ink counter
Table 5-5. Service Menu Items
Menu name Operations available
Head ID Menu Input Head ID
Production Menu
Input the head voltage
Charge ink
Adjust normal Bi-d
Adjust variable Bi-d
Clean the printhead
Drain ink
Special
Reset EEPROM
Clear ink counter


