


EPSON Stylus Scan 2500 Revision A
Disassembly & Assembly Removal of the Printer Consumables 92
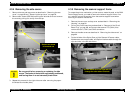
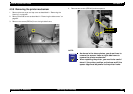
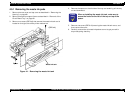
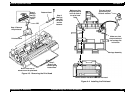
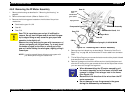
4.5.1 Removing the waste ink pads
1. Remove the rear cover and top cover as described in “Removing the
Housing” on pag e82.
2. Remove the scanner support frame as described in “Removal of the
Circuit Board Tray” on page 90.
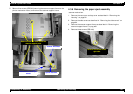
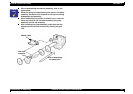
3. Remove one screw (CBP 3x8) that secures the waste ink tank and is
located on the right side of the printer mechanism.
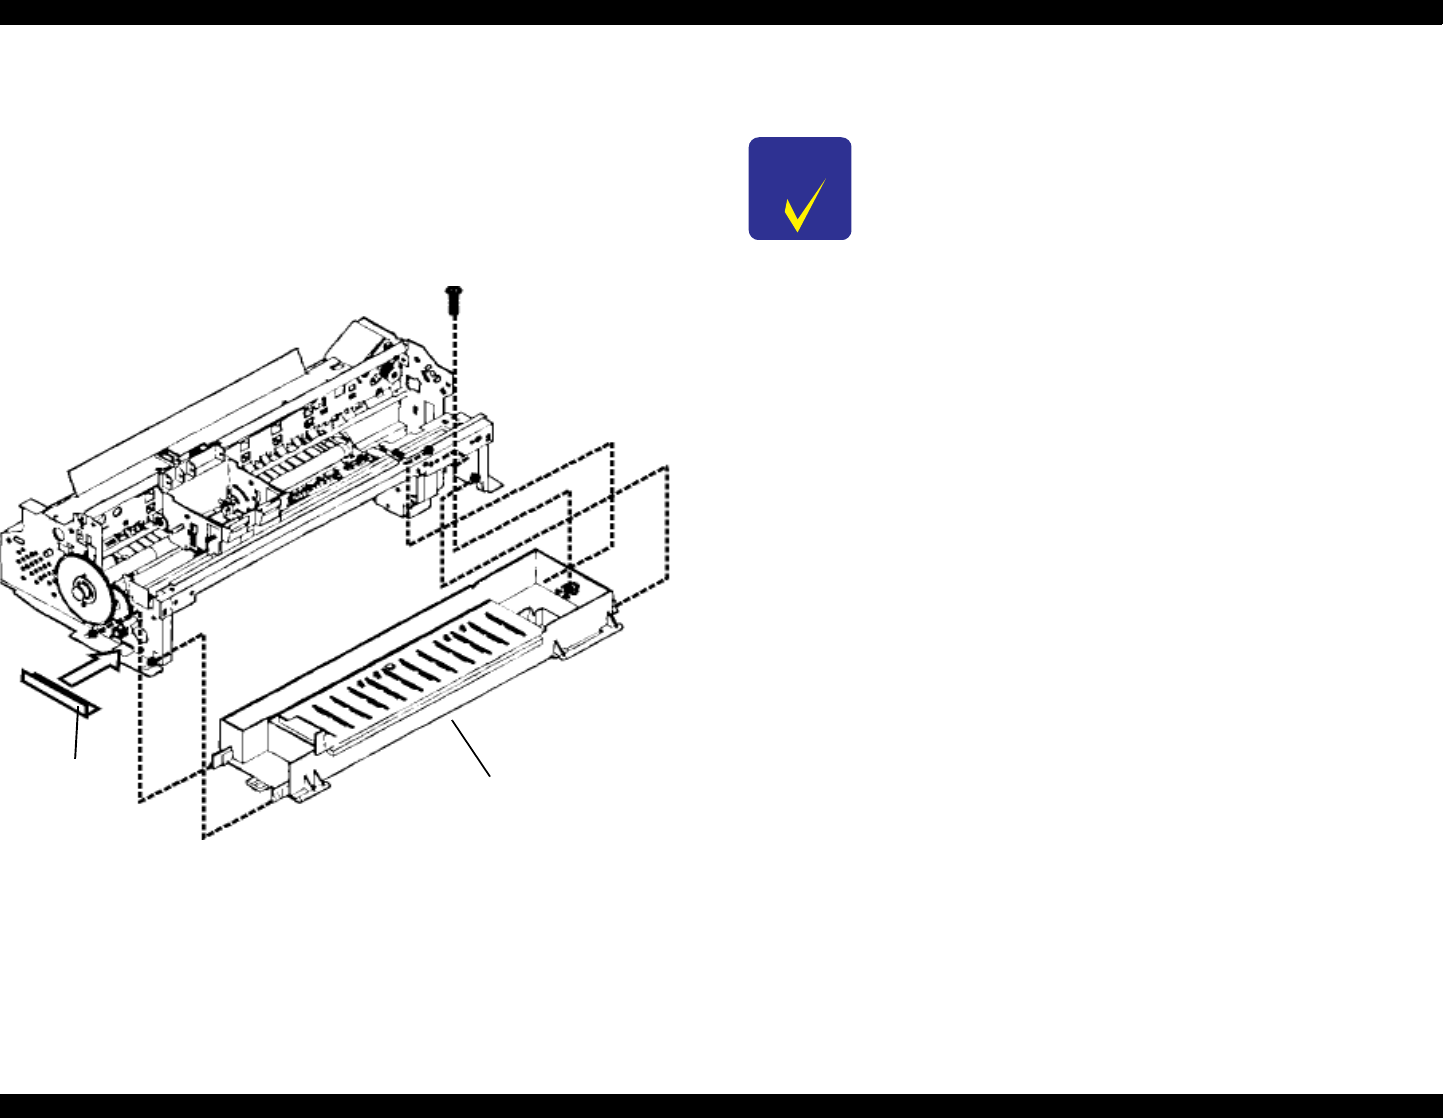
Figure 4-1. Removing the waste ink tank
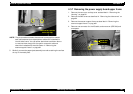
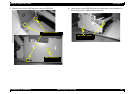
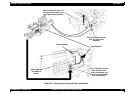
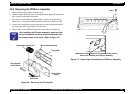
4. Remove the spacer on the left side of the tray and carefully pull the tray
out and downward.
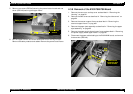
5. Remove one screw (CBP 3x10) securing the waste ink tank cover, and
then remove the cover.
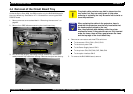
6. Carefully remove the old waste ink pads so as not to get yourself or
anyone/anything else dirty.
(CBP 3x8)
Spacer
Waste ink tank
CHECK
POINT
When re-installing the waste ink tank, make sure to
secure the hooks on the left of the tray on top of the
spacer.