


32
Location Recorder Model PD606
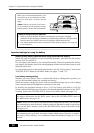
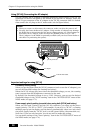
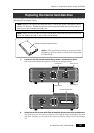
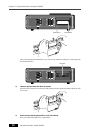
Chapter 2: Preparation before using the PD606
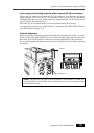
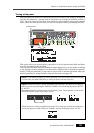
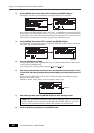
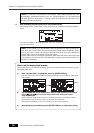
3) Use the [MENU] dial to select "Adjust RTC" and press the [ENTER/YES] key.
The display now shows current internal clock time which runs in realtime.
4) Use the [MENU] dial to select "EDIT" and press the [ENTER/YES] key.
The clock data at the moment when you press the [ENTER/YES] key is held and you can
now edit it (the second field flashes).
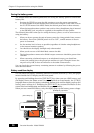
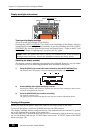
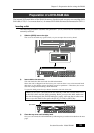
5) Enter the desired date/time data.
Use the [MENU] dial (or the alphanumeric keys) to enter a desired value to the current
cursor position (flashing field).
You can move the cursor position using the [
] and [ ] keys.
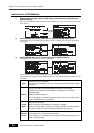
6) After entering date/time data, move the cursor to the offset time value (by default, "+0:00")
of Time Zone, and enter the desired offset time according to the country where the unit is
used.
By rotating the [MENU] dial, you can select the desired offset time within the range
between -12:00 and +13:00.
Example: London: +0:00, Tokyo: +9:00, Los Angels: -8:00 (-7:00)
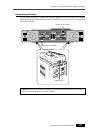
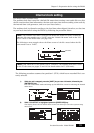
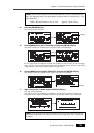
7) After entering all data, press the [ENTER/YES] key to start running the clock.
By pressing the [ENTER/YES] key while "SET "00s":" is highlighted (as the screen shown
above right), the second field is reset to "00". If you reset the second field when the
second value is 30 or more, the minute field value is incremented. If you reset the second
field when the second value is less than 30, only the second field is reset.
8) Press the [EXIT] key repeatedly to exit the MENU mode.
<Note>:
We recommend entering a time shortly ahead of "now" (such as one
minute ahead) in step 5 above and pressing the [ENTER/YES] key (in step 7
above) at the moment when the current time reaches the entered time.
Flashing
Flashing