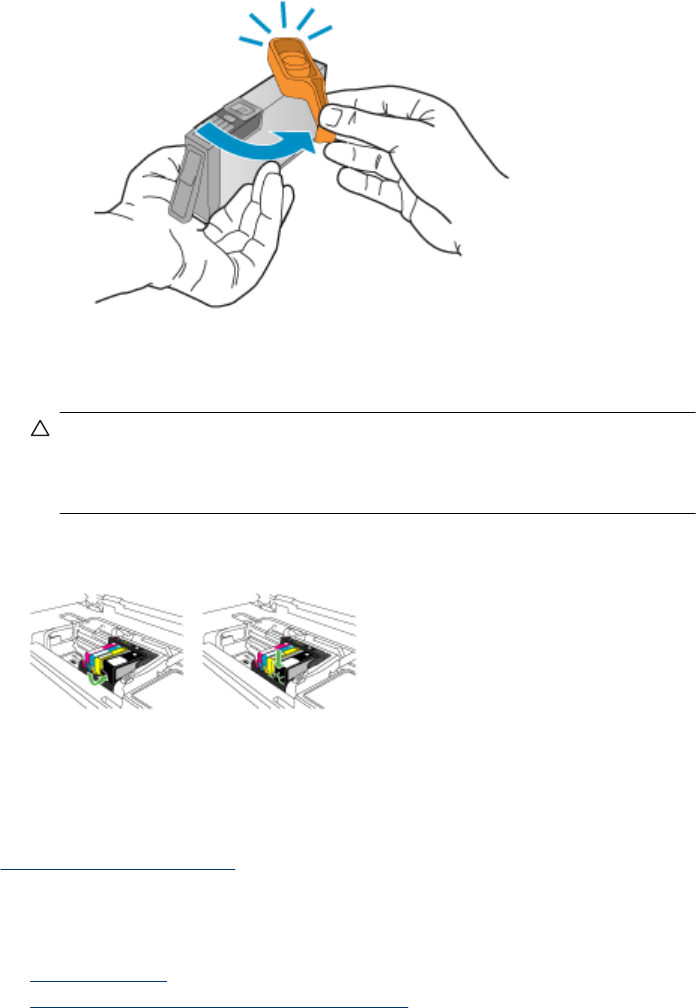
5. Twist the orange cap to snap it off.
6. Using the colored shaped icons for help, slide the ink cartridge into the empty slot
until it clicks into place and is seated firmly in the slot.
CAUTION: Do not lift the latch handle on the print carriage to install the ink
cartridges. Doing so can result in incorrectly seated ink cartridges and printing
problems. The latch must remain down in order to correctly install the ink
cartridges.
Make sure that you insert the ink cartridge into the slot that has the same shaped icon
and color as the one you are installing.
7. Repeat steps 3 through 6 for each ink cartridge you are replacing.
8. Close the ink cartridge door.
Related topics
Order printing supplies online
Advanced ink cartridge maintenance
This section contains the following topics:
•
Clean the sensor
•
Clean the sensor windows on the ink cartridges
Work with ink cartridges 147


