


4-4 Job Accounting
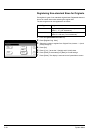
Managing Accounts
You can add and delete departments and define restrictions to copy
count as needed.
New Account
Adds a new department. The following settings are required.
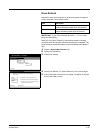
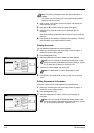
1 Referring to Accessing the Job Accounting Screen on page 4-3,
access the Job Accounting screen.
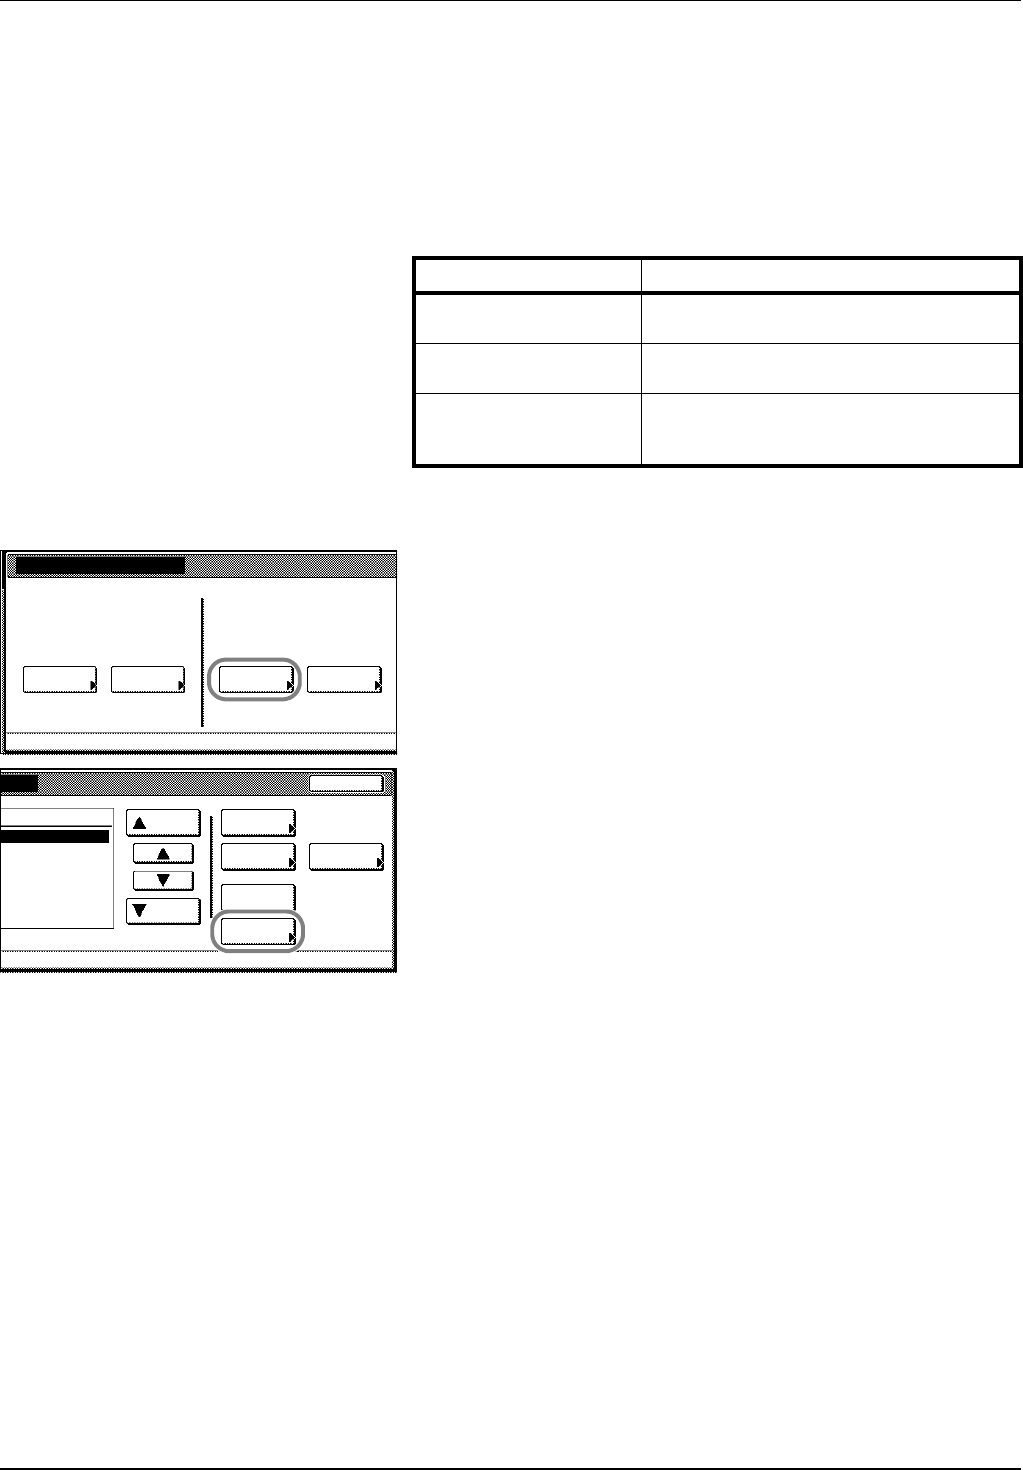
2 Press [Management Edit].
3 Press [Register].
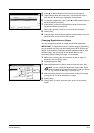
4 Press [S] or [T] to select Account ID and press [Change #].
5 Use the numeric keys to enter the department ID code.
6 Press [Close].
7 Press [S] or [T] to select Name to Display and press [Change #].
8 Enter the department name and press [End].
Refer to the Operation Guide for how to enter text characters.
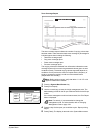
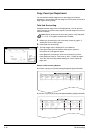
9 When all entries are complete, press [Next].
10Specify restrictions on copying as desired.
Refer to Restricting Usage for how to set usage restrictions.
11Press [Registr.] to finalize settings.
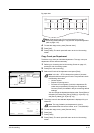
To make settings on another department, press [Register] and
repeat steps 4 to 11.
12Press [Close]. The touch panel will return to the Job Accounting
screen.
Setting Description
Department ID Code Set for department ID codes up to 8 digits
long (between 0 and 99999999) for security.
Name to display Set the department name using a maximum
of 32 alphanumeric characters.
Limit in use Set usage limitation for each of the
copier/printer functions. Refer to Restricting
Usage on page 4-5 for setting procedure.
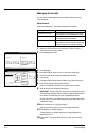
Job Accounting
Each Job
Job Accountg T Register/Sett.
Total Job Management Job Accntg
Def. Set.
System Menu
AccountingAccounting Edit
Close
Order of
Mgt. Inf.
Delete
Up
Down
Correction
Register
Limit
division
s
division
indication
in use
0001/0003
IMPORTANT An error will occur if you do not complete Account
ID and Name to display, and you will not be able to proceed to the
next screen. Be sure that you have completed the entries.
An error will occur if you attempt to enter an existing department
ID code. You will not be able to proceed to the next screen. Use
a different ID code.