


4-8 Job Accounting
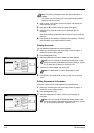
1 Refer to steps 1 to 9 of New Account on page 4-4 to display the
usage restriction screen.
2 Press [S] or [T] to select Printer and press [Change #].
3 Select [No limit], [Counter limit] or [Is not permitted] ([Is not
permited]).
When [Counter limit] is selected, use the numeric keys to enter the
page limit.
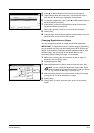
4 Press [Close] to save settings or [Back] to cancel settings. The touch
panel will return to the usage restriction screen.
Deleting Accounts
You can delete the department accounts registered.
1 Referring to Accessing the Job Accounting Screen on page 4-3,
access the Job Accounting screen.
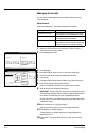
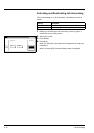
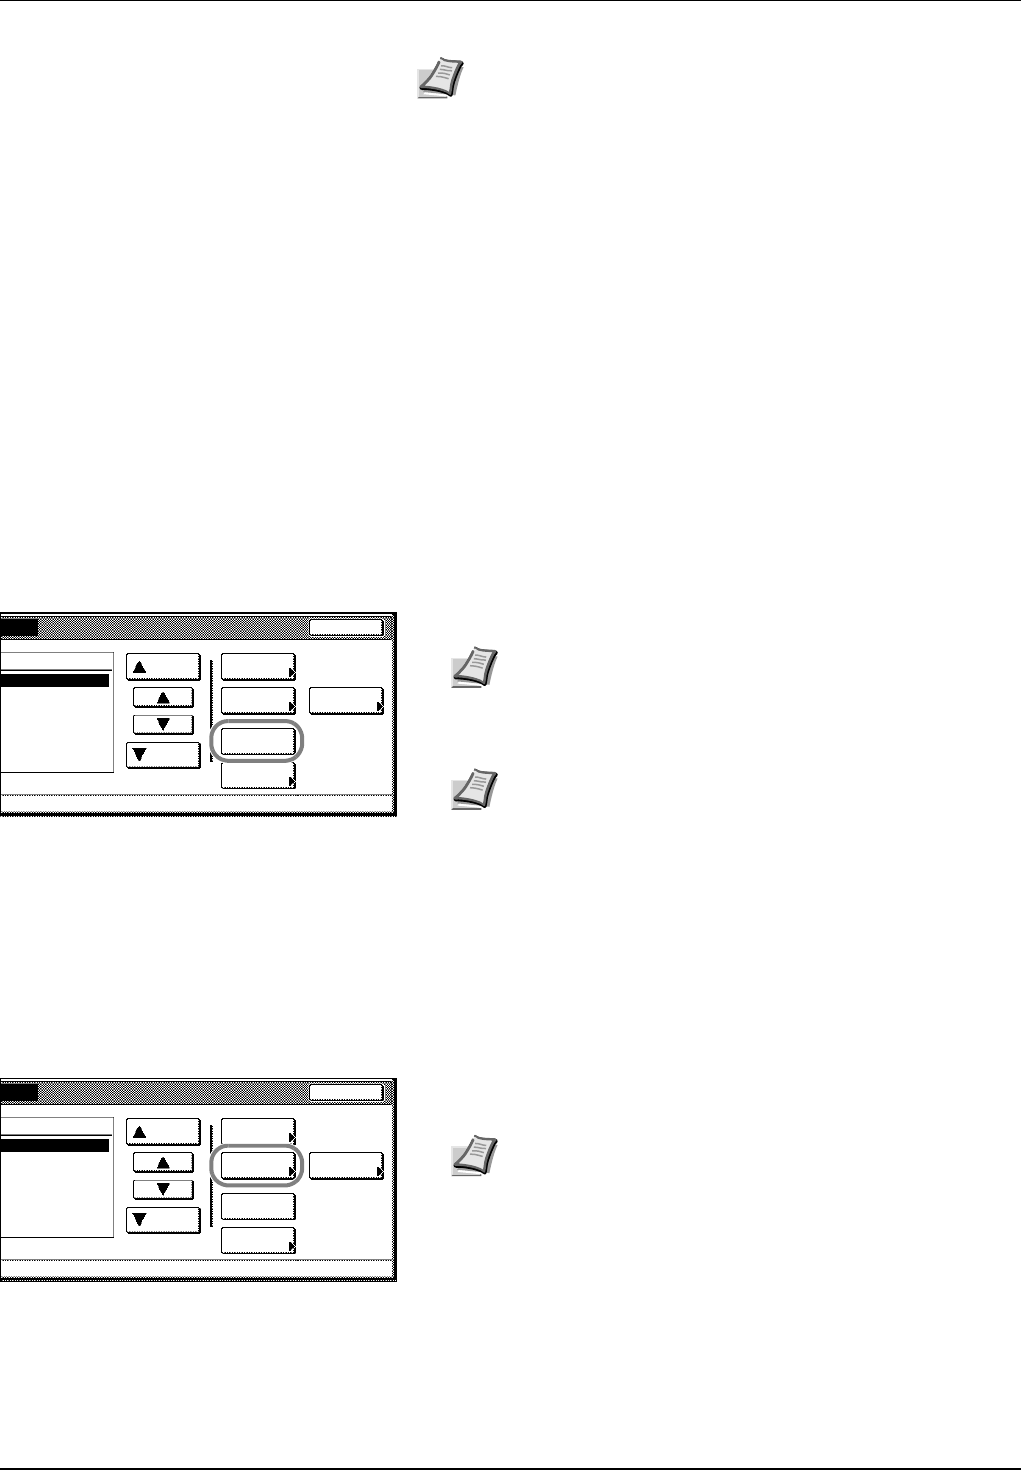
2 Press [Management Edit].
3 Select the department ID code to delete and press [Delete].
4 Check the ID code to delete and press [Yes].
5 Press [Close]. The touch panel will return to the Job Accounting
screen.
Editing Department Information
Changes the name and ID code registered for the department.
1 Referring to Accessing the Job Accounting Screen on page 4-3,
access the Job Accounting screen.
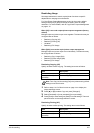
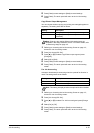
2 Press [Management Edit].
3 Select the department ID code to modify and press [Mgt. Inf.
Correction].
Note This setting is displayed when the optional printer kit is
installed.
Turn Printer Job Accounting [On] in the job accounting default
settings to use this function.
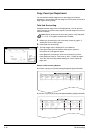
Close
Order of
Mgt. Inf.
Delete
Up
Down
Correction
Register
Limit
division
s
division
indication
in use
0001/0003
Note You can change the department display order. Press
[Order of indication] and select from [Sort by Code] ([1J9] and
[9J1]) and [Sort by Name] ([AJZ] and [ZJA]).
Note To delete other ID codes, repeat steps 3 and 4.
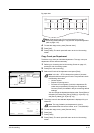
Close
Order of
Mgt. Inf.
Delete
Up
Down
Correction
Register
Limit
division
s
division
indication
in use
0001/0003
Note You can change the department display order. Press
[Order of indication] and select from [Sort by Code] ([1J9] and
[9J1]) and [Sort by Name] ([AJZ] and [ZJA]).