


Default Setting (System Menu)
9-27
9
Use the procedure below to set the default Collate/Offset settings.
1 Press the System Menu key.
2 Press [Common Settings], [ ], [Next] of Function Defaults. Press [ ] twice and [Change] of Collate/Offset.
3 Select the defaults for Collate and Offset respectively.
4 Press [OK].
JPEG/TIFF Print
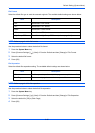
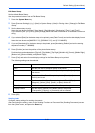
Select the image size (resolution) when printing JPEG or TIFF file. The table below shows the available settings.
Use the procedure below to set the default JPEG/TIFF Print settings.
1 Press the System Menu key.
2 Press [Common Settings], [ ], [Next] of Function Defaults. Press [ ] twice and [Change] of JPEG/TIFF
Print.
3 Select the default for [Fit to Paper Size], [Image Resolution], or [Fit to Print Resolution].
4 Press [OK].
XPS Fit to Page
Reduces or enlarges the image size to fit to the selected paper size when printing XPS file.
Use the procedure below to set the default XPS Fit to Page settings.
1 Press the System Menu key.
2 Press [Common Settings], [ ], [Next] of Function Defaults. Press [ ] twice and [Change] of XPS Fit to
Page.
3 Select [Off] or [On] for the default.
4 Press [OK].
Continuous Scan
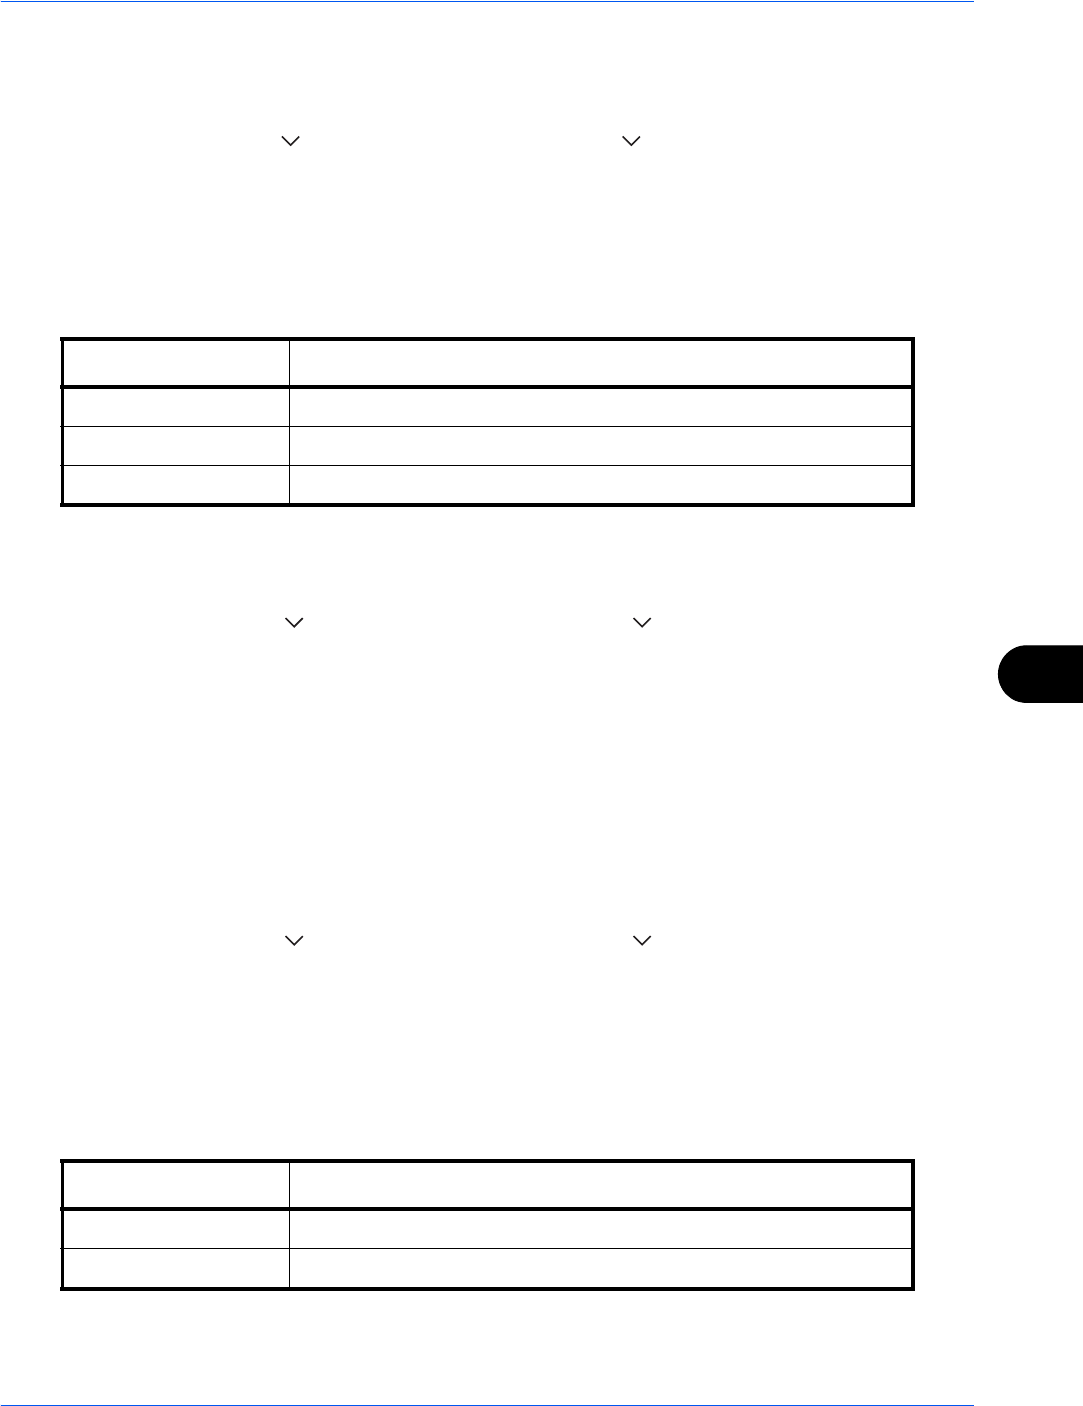
Set the continuous scan defaults. The available default settings are shown below.
Refer to page 4-43 for Continuous Scan.
Item Description
Fit to Paper Size Fit the image size to the selected paper size.
Image Resolution Print at resolution of the actual image.
Fit to Print Resolution Fit the image size to the print resolution.
Item Description
Off Continuous scan not performed
On Continuous scan performed