


Default Setting (System Menu)
9-74
Developer Refresh
When the printing is too light or incomplete, even though there is enough toner, refresh the developer.
1 Press the System Menu key.
2 Press [ ], [Adjustment/Maintenance], [ ] and then [Next] of Developer Refresh.
3 Press [Start]. Developer Refresh begins.
NOTE: Waiting time may be longer when the toner is refilled during developer refresh.
4 Press [OK] after Developer Refresh is complete.
Laser Scanner Cleaning
If white or color streaks appear on images, perform Laser Scanner Cleaning.
1 Press the System Menu key.
2 Press [ ], [Adjustment/Maintenance], [ ] and then [Next] of Laser Scanner Cleaning.
3 Press [Start]. Laser Scanner Cleaning begins.
4 Press [OK] after Laser Scanner Cleaning is complete.
First Print Position
Using this function speeds up either of the first print time of black and white printing or color printing by changing
the default start position of the first print. In addition, the machine can automatically detect the appropriate
position depending on your usage.
1 Press the System Menu key.
2 Press [ ], [Adjustment/Maintenance], [ ] and then [Change] of First Print Position.
3 Select [Standard], [Black & White Priority], [Color Priority] or [Auto].
4 Press [OK].
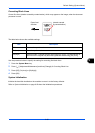
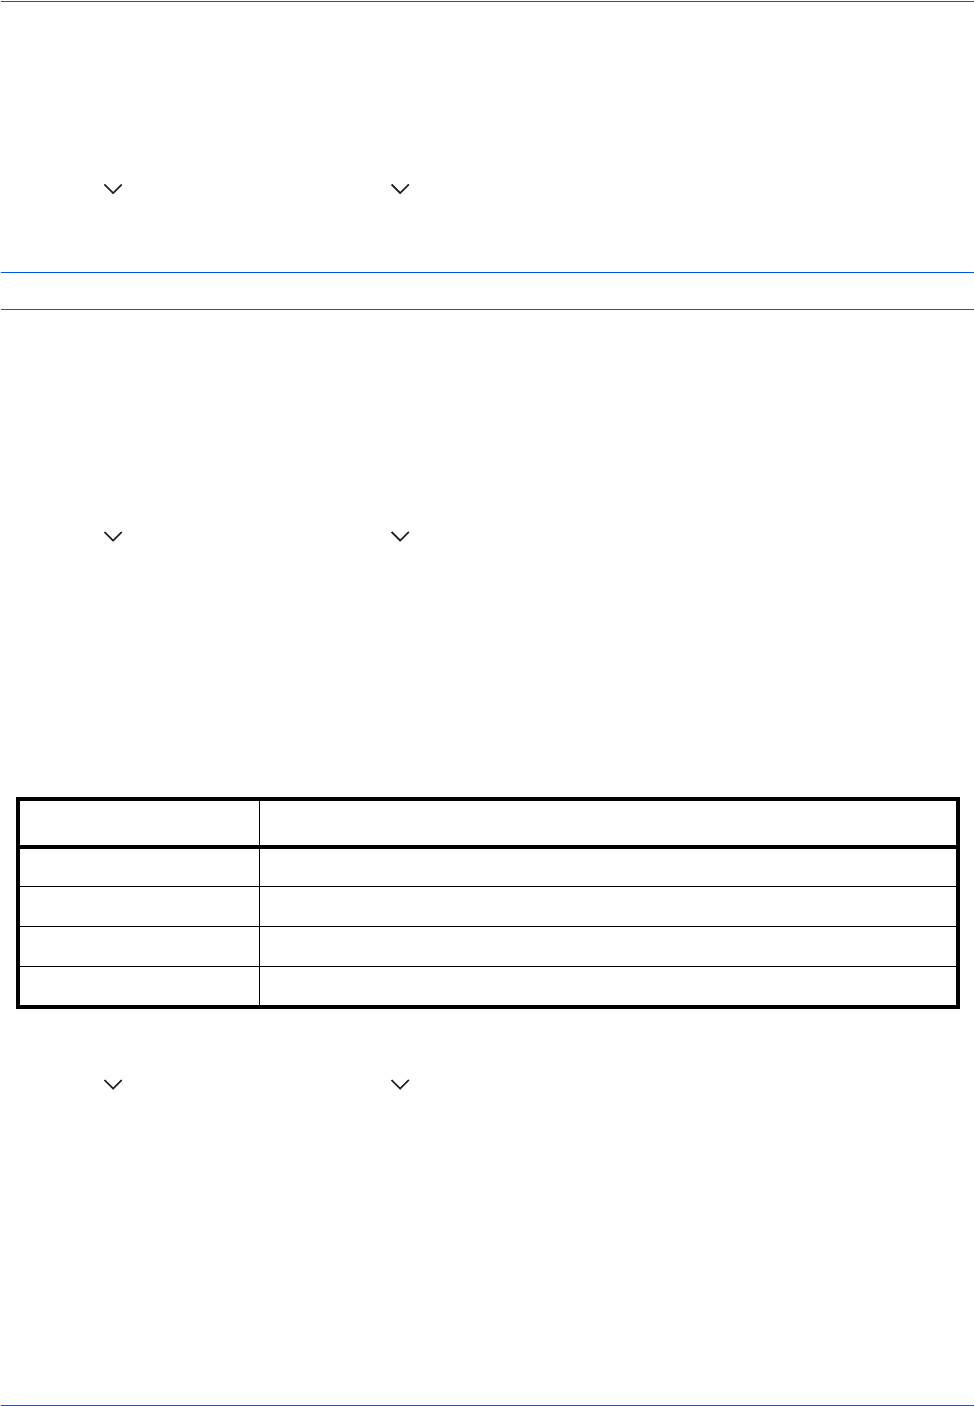
Item Description
Standard Default of the first print time.
Black & White Priority Speed up the first print time of black and white printing.
Color Priority Speed up the first print time of color printing.
Auto Automatically detects the appropriate position depending on your usage.