


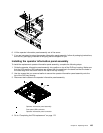
Attention: PCI expansion-slot covers must be installed on all vacant slots. This maintains the electronic
emissions characteristics of the server and ensures proper cooling of server components.
6. Follow the instructions that come with the PCI card to set any jumpers or switches.
Attention: When you install an PCI card, make sure that it is completely and correctly seated in the
expansion slot in the riser card. Incomplete insertion might cause damage to the riser card, system
board, or the PCI card when you turn on the server.
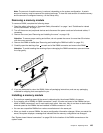
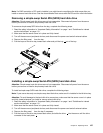
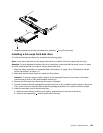
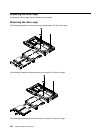
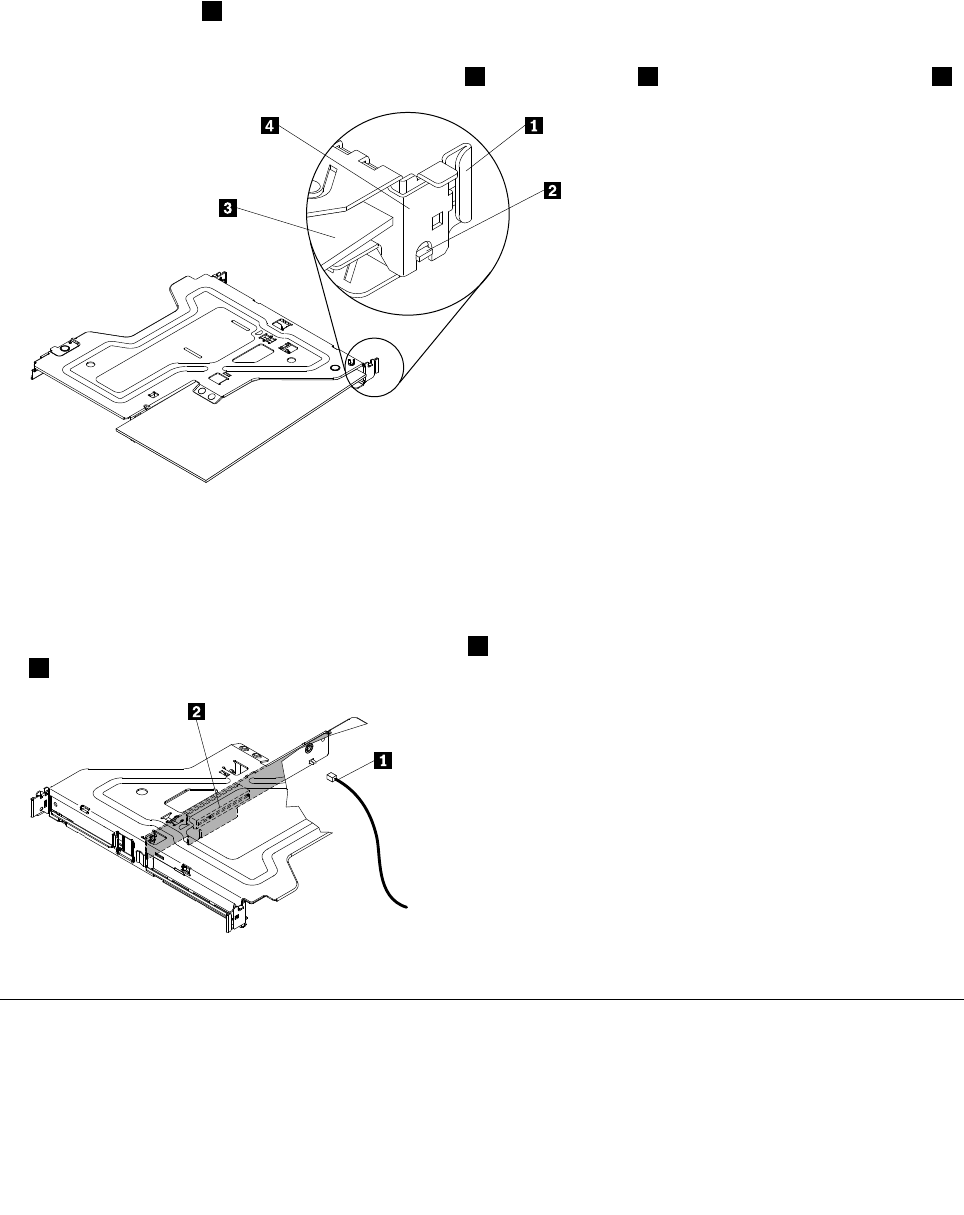
7. Insert the PCI card 5 into the riser-card assembly, aligning the edge connector on the PCI card with the
connector on the riser-card assembly. Press the edge of the connector rmly into the riser-card assembly.
Make sure that the PCI card snaps into the riser-card assembly securely. Important: Make sure that the
U-shaped opening in the metal PCI card bracket 4 engages the tab 2 on the expansion-slot bracket 1 .
Attention: When you install an PCI card, make sure that the PCI card is correctly seated in the riser-card
assembly and that the riser-card assembly is securely seated in the riser-card connector on the system
board before you turn on the server. An incorrectly seated PCI card might cause damage to the system
board, the riser-card assembly, or the PCI card.
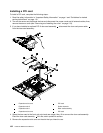
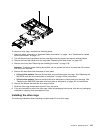
8. Reinstall the riser-card assembly in the server (see “Installing the riser-card assembly” on page 157).
9. If you have installed a PCI-X riser-card assembly 2 in the server, reconnect the riser-card power cable
2 to the riser-card assembly.
10.Go to “Completing the FRU replacement” on page 172.
Replacing a USB embedded hypervisor ash device
To replace a hypervisor ash device, complete the following procedures:
Chapter 6. Replacing FRUs 133