4
Installation
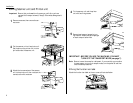
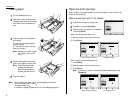
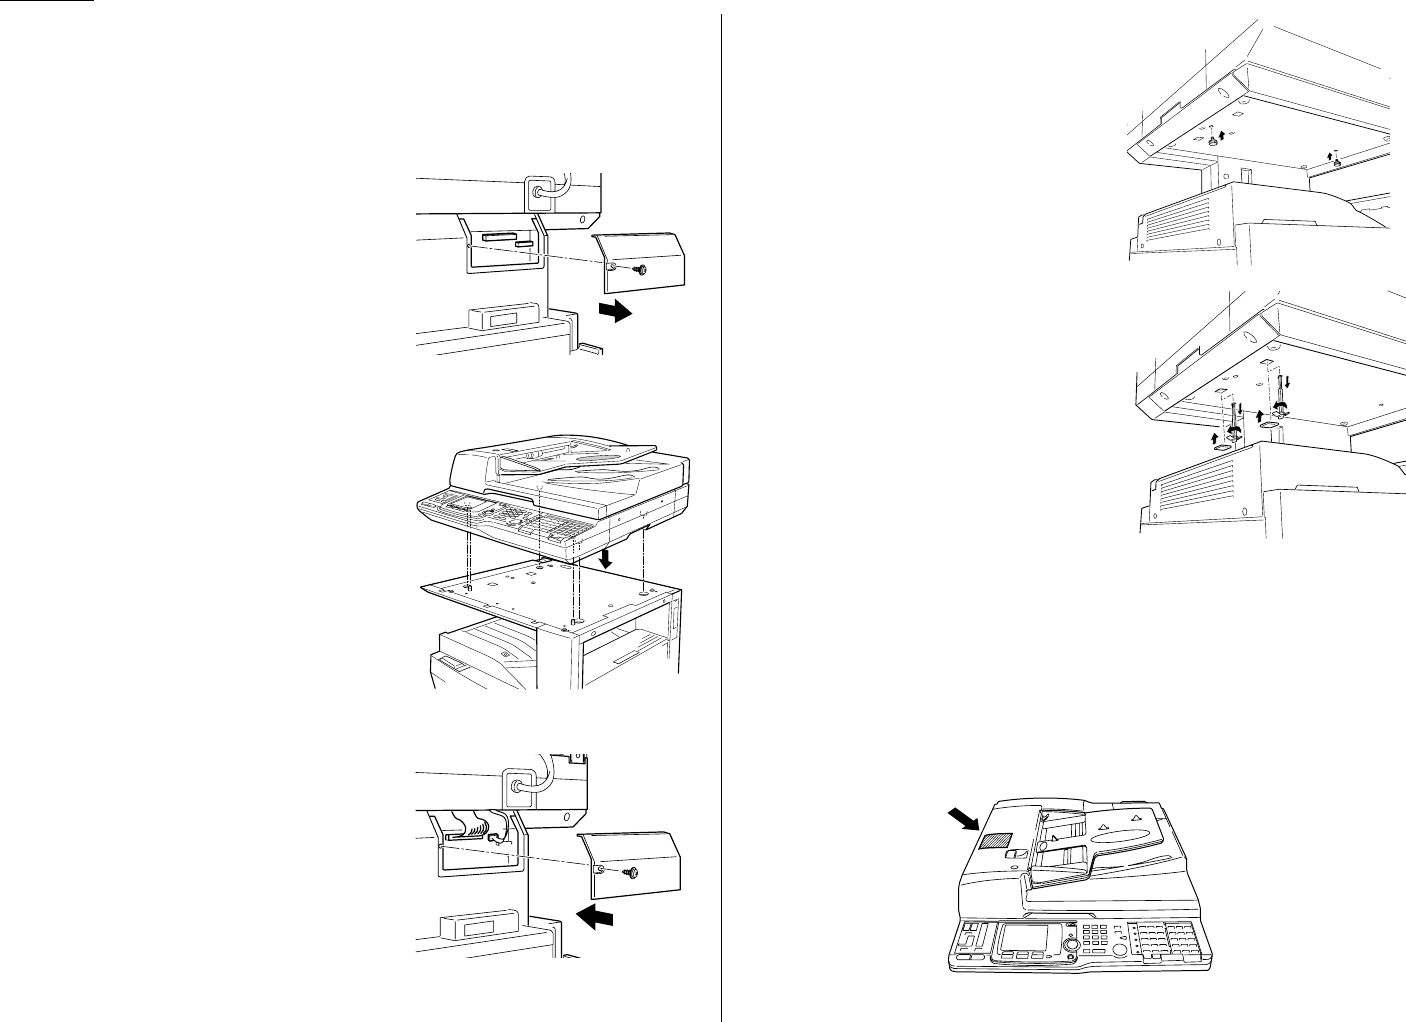
Joining Scanner unit and Printer unit
Important: Be sure that you do not turn the power on until after you have
removed the transport screws (in step 5). Otherwise, damage could
result.
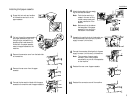
1
Remove one screw, then remove the con-
nect cover.
2
Put the scanner unit on the printer unit.
Set the pins on the printer unit into the
pin holes under the scanner unit.
3
Attach the two connectors of the scanner
unit to the printer unit, then re-attach the
connect cover with one screw.
4
Fix the scanner unit and the printer
unit with two fixing screws.
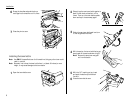
5
Remove two transport screws by turn-
ing them 90º. Attach protection sponges
on each transport screw hole.
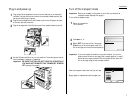
IMPORTANT: BEFORE YOU USE THE MACHINE, YOU MUST
TURN OFF THE TRANSPORT MODE (see page 7).
Note: Be sure to save the screws for reshipment. If you must ship your machine
for some reason, turn on the transport mode, turn the power off and then
undo the above procedures.
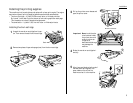
Affixing the Function icon label
Attach the function icon label on the
ADF
cover as illustrated below:


