3-56 Chapter 3: 7401-2xxx and 3xxx Hardware Installation
If cursor is not stable, or false touches are suspected, run the Noise
Check Utility from the Microcal program. Choose the recommended
frequency (the one with the lowest noise level). This should also be
done if the Touch Screen is still not calibrated after one attempt to
recalibrate it.
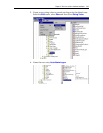
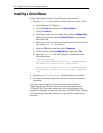
1. Set the video resolution by going to the Tools menu, Video and
selecting 800 x 600 256 colors.
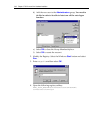
2. Go to the Tools menu, select Noise Check.
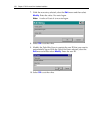
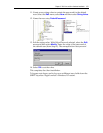
3. Follow the instruction prompts. Choose the frequency with the
lowest noise level.
Application software can possibly generate a dialog box from the
Touch Driver, with the message that the touch screen needs to be
recalibrated. If the screen appears to be working normally, then this
message can be ignored. There will be a check box labeled Do not
show this message again. Make sure this box is checked.
Calibration From the BIOS
1. Apply power to the terminal.
2. When the screen prompt that says Touch the screen two times to enter
Setup appears, wait for the second prompt to touch the screen, and
then touch the screen three times. This causes the system to bypass
the BIOS Setup and go directly to the Touch Screen Calibration
Setup.
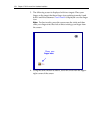
3. As instructed on the screen, touch the circle near the lower-left
corner of the screen. For best results, press the screen near the circle
and then slide your finger onto the circle without raising your
finger from the screen.
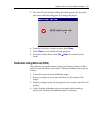
4. Using the same method as above, touch the circle near the upper-
right corner of the screen.
You should receive a Successful Calibration message and then the
PhoenixBIOS Setup Utility should come up.


