WFS709TP ProSafe Smart Wireless Switch Software Administration Manual
RF Plan 4-29
v1.0, June 2007
6. Drag one corner of the box to a corresponding corner of the lobby and using one of the corner
handles of the box, stretch it to fit exactly over the lobby area.
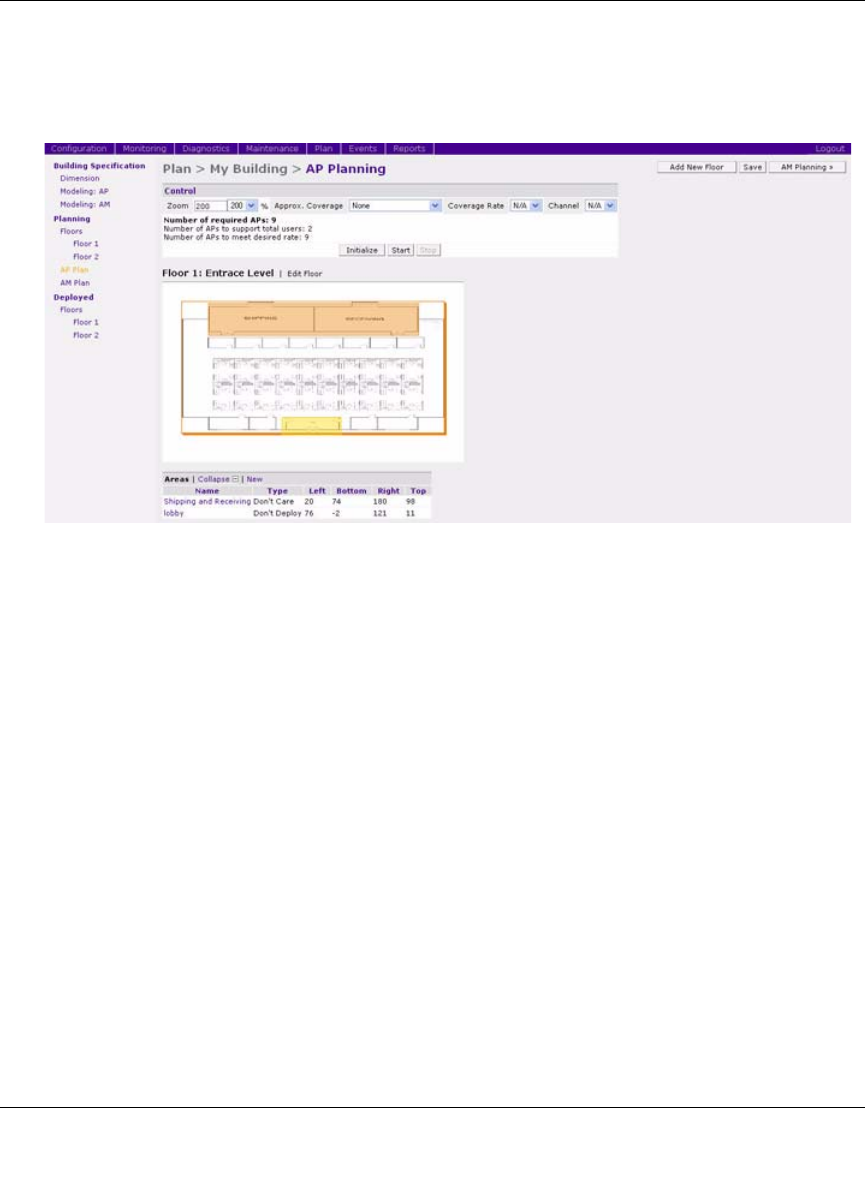
Your floor plan with the Don’t Deploy box added should look similar to Figure 4-28.
7. Click Save.
Running the AP Plan
In this section you run the algorithm that searches for the best place to put the APs.
To zoom in on the floor plan, use the Zoom pull-down near the top of the AP Planning page, or
type a zoom factor in the text box at the left of the pull-down and press the Enter.
Notice that the number of required APs is nine, the same value that you saw when you modeled
your APs. Notice also that none of the APs show on the floor plan yet.
1. Click Initialize.
A total of nine AP symbols appears on the two floor diagrams: four on Floor 1 and five on
Floor 2. The Suggested Access Points tables below each floor diagram have also been
populated with information about the suggested APs for each corresponding floor.
2. Click Start.
After you initialize the APs, you must start the algorithm. The APs move around on the floor
plans as the algorithm is running.
Figure 4-28


