Replacing Modules and Filler Panels
3-16 296-1011-202 Rel. 5.0, Doc. Rev. 02.01
CVX 600 Hardware Installation Guide
Reference
For information about the SCC-SM LEDs, see the “Checking the LEDs” on
page 2-43.
Replacing the SCC-LTM/RLTM
If you need to replace the SCC-LTM or SCC-RLTM, note the configuration of
installed network cabling before you disconnect any cables. This includes cabling
to the following ports:
• Local 10/100 Mb/s Ethernet ports
• Console port
• HSSI port
• Alarm port
• T1 ports or E1 ports
• Optical ports
You will need to reinstall this cabling on the replacement SCC-LTM/RLTM.
Removing the SCC-LTM or SCC-RLTM
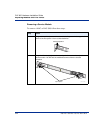
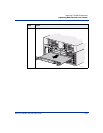
To remove the SCC-LTM or SCC-RLTM, follow these steps:
Caution: Before removing the SCC-LTM or SCC-RLTM, you must first
remove the corresponding SCC-SMs. The LTMs and RLTMs are not
hot-swappable (that is, you cannot change them while the system is
running).
Step Action
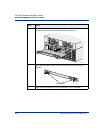
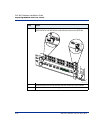
1 Turn off power by turning off the switches on the PDU.
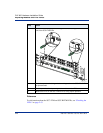
2 Disconnect any cables attached to the SCC-LTM/RLTM.
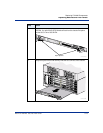
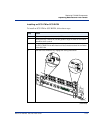
Note: If you are using the alarm connections, you can leave the alarm wiring
in place by removing the alarm connector block from the SCC-LTM/RLTM.
Use a 1/8-inch flat-tip screwdriver to remove the alarm connector block.


