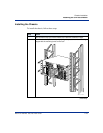
Installing the CVX 600 Chassis
1-24 296-1011-202 Rel. 5.0, Doc. Rev. 02.01
CVX 600 Hardware Installation Guide
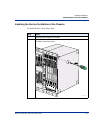
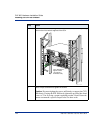
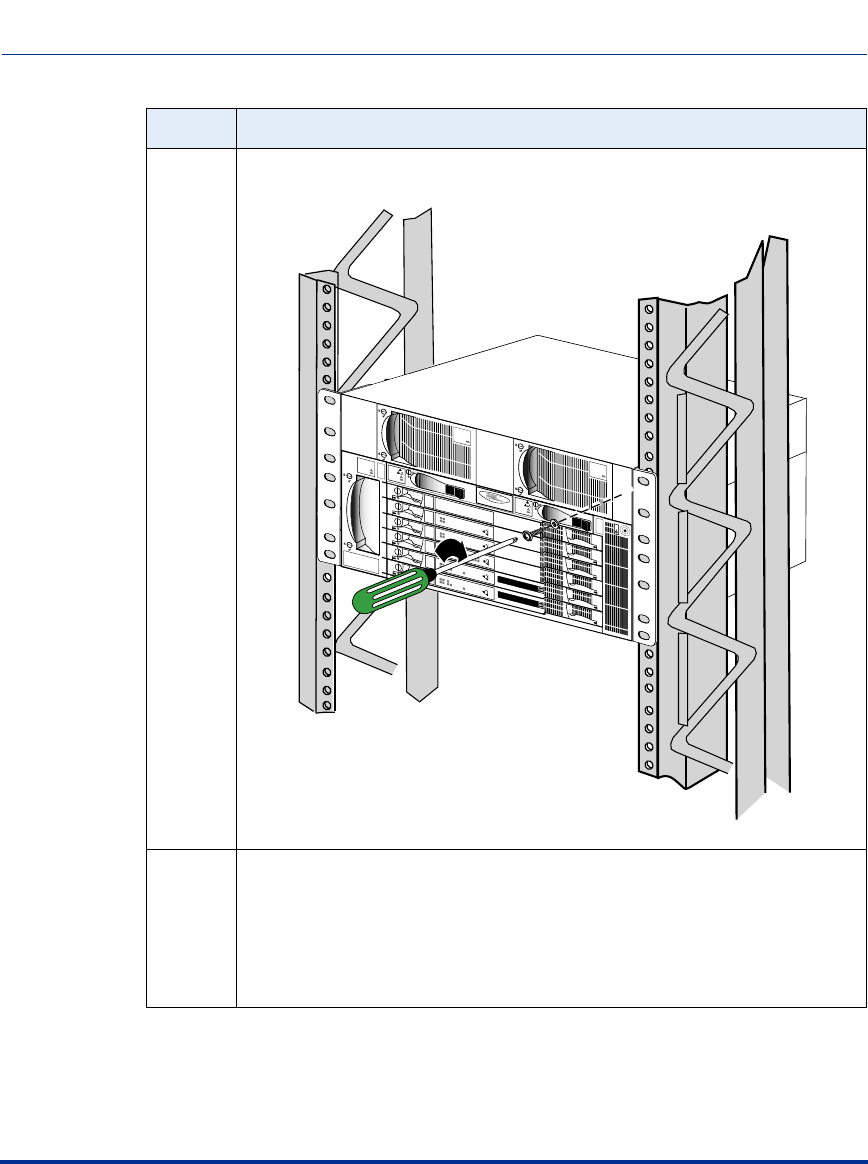
3 Insert truss-head screws through each flange hole and into the corresponding
holes on the front vertical supports of the rack.
4 Use a Phillips screwdriver to tighten the screws.
Caution: You must tighten the screws sufficiently to support the CVX
600 chassis. If using the PTE 2000 rack, tighten the provided hex-head
screws to 75 in-lb, using a torque-regulating ratchet. Nortel Networks
cannot recommend a specific torque value for other racks.
Step Action
AC PM
AC PM
Fans
1
2
3
4
5
6
CVX 6oo
BIP
BIP
Filler
System
Power
Good
Failed
Redun
Ethernet
HSSI
1
3
2
1
Reset
PCMCIA
1
2
System
Power
Good
Failed
Redun
Ethernet
HSSI
1
3
2
1
Reset
PCMCIA
1
2
DS1
Yellow Red
1
2
3
4
5
6
7
8
9
10
11
12
Power
Good
Failed
Redun
Modem
ISDN
Power
Good
Failed
Redun
Power
Good
Failed
Redu
n
AC PM 1
AC PM 2
PDU 2
PDU 1
ESD
Jack
O
I
O
I
CVX-0241A
Turn clockwise to
tighten screws
(75 in-lb for a
PTE 2000 rack).


