3-40 Sun Fire X4100 and Sun Fire X4200 Servers Service Manual • June 2006
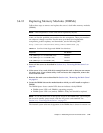
TABLE 3-10 lists the qualified part numbers for this component. These part numbers
are subject to change over time. For the most up-to-date list of replaceable
components, product updates, and downloads, see the following URL:
http://www.sun.com/servers/entry/x4100/downloads.jsp
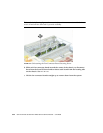
1. Observe the LEDs on the faces of the HDDs and identify the defective HDD:
■ Middle LED on (amber): The drive is faulty and should be replaced.
■ Bottom LED on (green): The drive is operating properly.
Note – When you replace the HDDs to their bays, you must return each HDD to the
bay from which it was removed. Use an adhesive note or another method to
temporarily label the HDDs when you remove them.
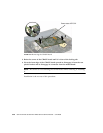
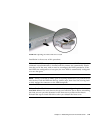
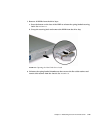
2. Press the button on the face of the HDD to release the spring-loaded securing
latch. See
FIGURE 3-36.
3. Grasp the securing latch and remove the HDD from the drive bay.
TABLE 3-10 Sun Fire X4100 Supported HDD Part Numbers
Component Part Number
36-GB 10K RPM 2.5-inch SAS drive
(RoHS-compliant, replaces 540-6358)
540-6610
73-GB 10K RPM 2.5-inch SAS drive
(RoHS-compliant, replaces 541-0323)
540-6611


