


42
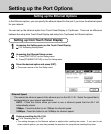
Setting up the Port Options
In the Ethernet options, you can specify the ethernet speed for the port if you know the ethernet speed
for your network.
You can set up the ethernet option from Touch Panel Display or TopAccess. There are no difference
between the setup from Touch Panel Display and setup from TopAccess for Ethernet options.
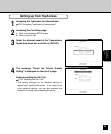
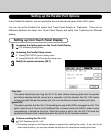
Setting up from Touch Panel Display
1
Accessing the Setting menu on the Touch Panel Display.
P18 “Accessing Setting Menu”
2
Accessing the Ethernet Setup screen.
1. Press [PORT SETUP] on the Setting menu.
2. Press [ETHERNET SETUP] on the Port Setup menu.
3
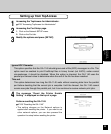
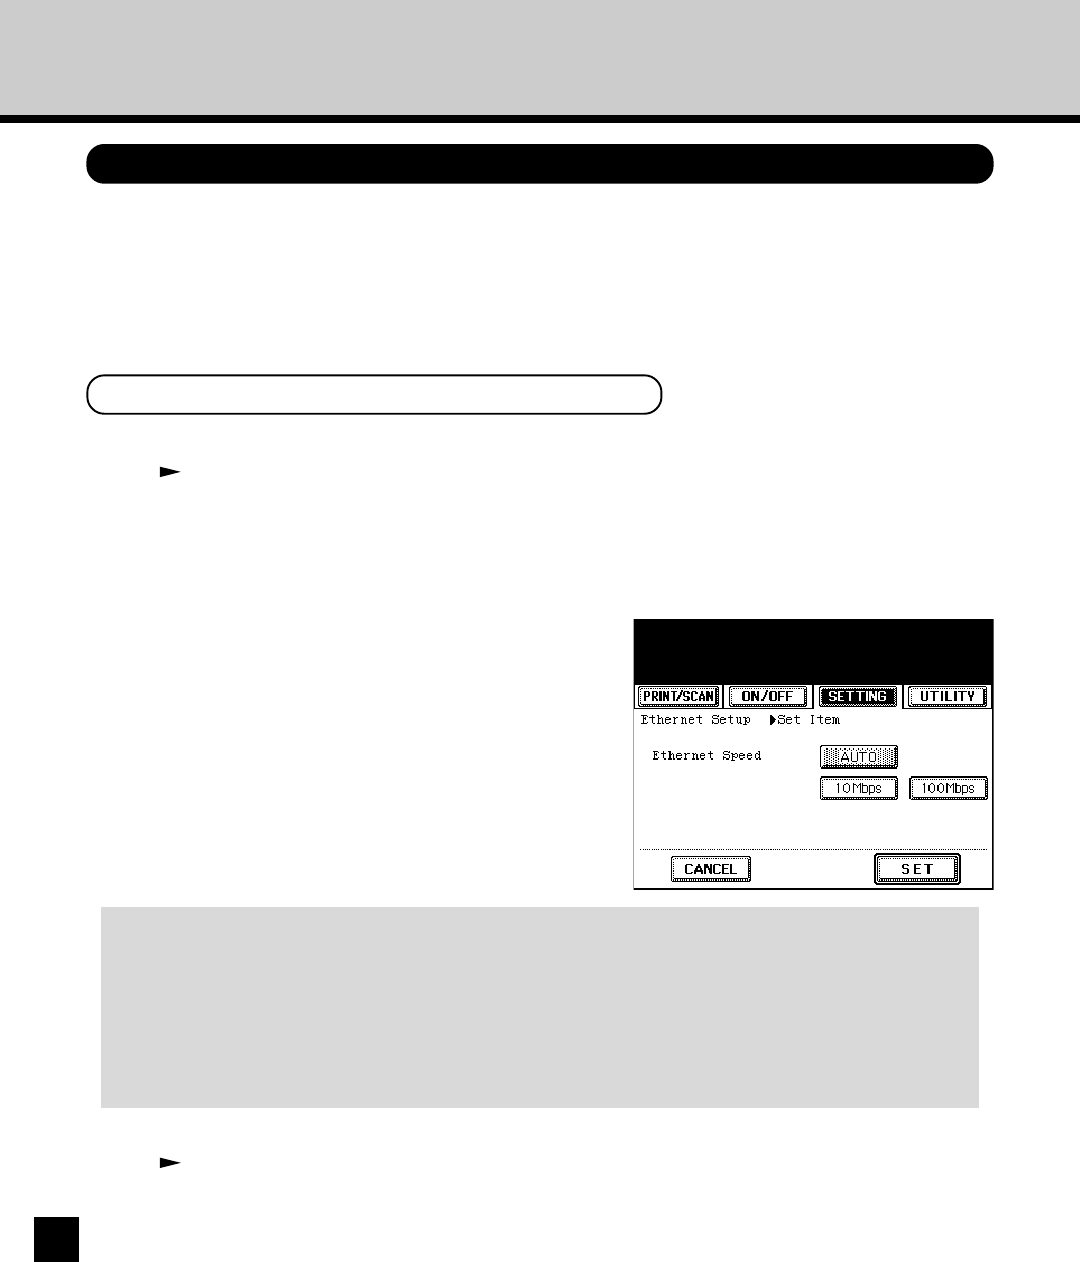
Press the desired option and press [SET].
• The screen returns to the Port Setup menu.
Ethernet Speed
This selects the ethernet speed of the ethernet port on the GA-1140. Select the speed that is
corresponding to your network specification.
AUTO - Press this button when you want to use a ethernet speed that the GA-1140
automatically selects.
10Mbps - Press this button to set 10Mbps for ethernet speed.
100Mbps - Press this button to set 100Mbps for ethernet speed.
4
Perform resetting the GA-1140.
P109 “Resetting the GA-1140”
• The setting changes on the Network options is applied after resetting the printer. If you want to set
other network options, you can also proceed the operation for setup before resetting the printer.
Setting up the Ethernet Options