


85
Setting up the
Printer Setup
Options
10
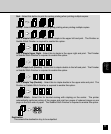
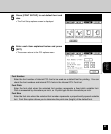
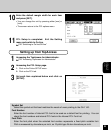
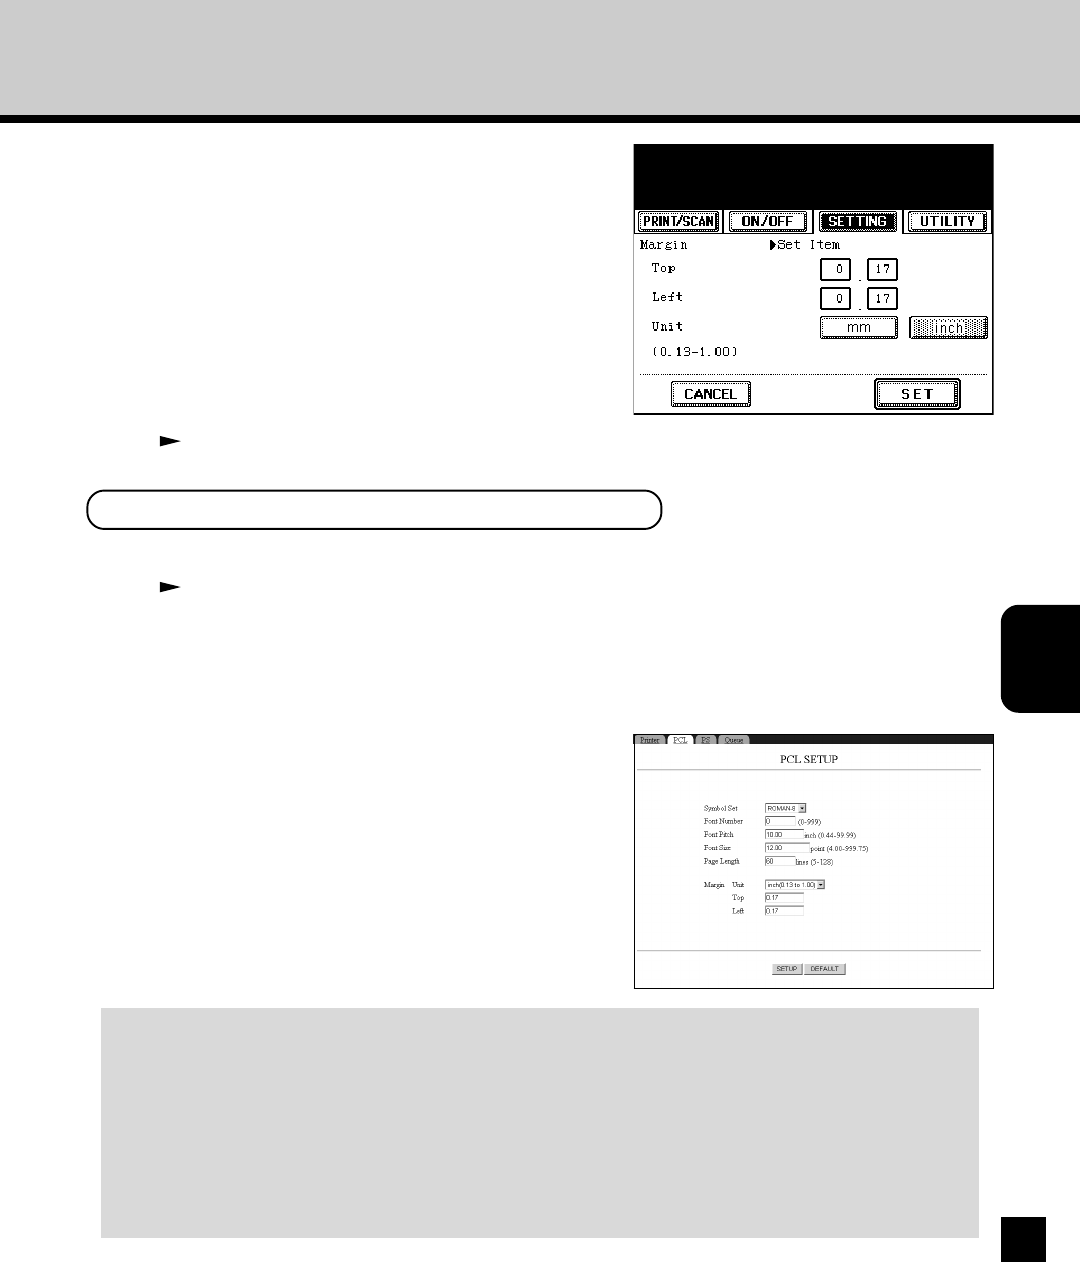
Enter the default margin width for each item
and press [SET].
• You can change the unit by pressing either [mm] or
[inch].
• The screen returns to the PCL options menu.
11
PCL Setup is completed. Exit the Setting
menu and switch to On-line.
P20 “Switching to On-line/Off-line”
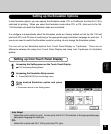
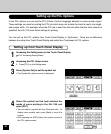
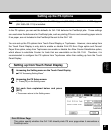
Setting up from TopAccess
1
Accessing the TopAccess for Administrator.
P23 “Accessing TopAccess for Administrator”
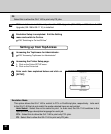
2
Accessing the PCL Setup page.
1. Click on the Printer SETUP menu.
2. Click on the PCL tab.
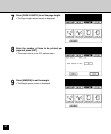
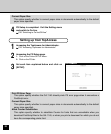
3
Set each item explained below and click on
[SETUP].
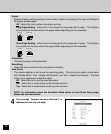
Symbol Set
Select the symbol set that best matches the needs of users printing to the GA-1140.
Font Number
Enter the font number of internal PCL font to be used as a default font for printing. You can
check the font numbers and internal PCL fonts in the Internal PCL Font List.
Font Pitch
Enter the font pitch when the selected font number represents a fixed pitch scalable font.
Pitch is measured by characters per inch, so 10-pitch type fits ten characters per inch.