


49
Setting up the
Network Setup
Options
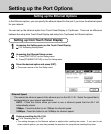
Setting up from TopAccess
1
Accessing the TopAccess for Administrator.
P23 “Accessing TopAccess for Administrator”
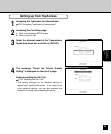
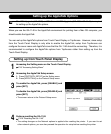
2
Accessing the TCP/IP Setup page.
1. Click on the Network SETUP menu.
2. Click on the TCP/IP tab.
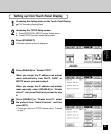
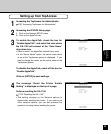
3
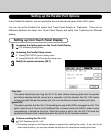
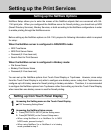
Check the box for “Enable Ethernet”.
When you assign the IP address and subnet
mask automatically, check the box for “Enable
Auto IP” and select the protocol from the
“Select Protocol” drop down menu.
To obtain the gateway address from the
network, check the box for “Enable Auto IP” at
the Gateway options group.
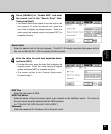
When you assign the IP address and subnet
mask manually, enter the IP address in the “IP
address” field, and enter the subnet mask in
the “Subnet mask” field. To assign the
gateway address manually, enter the gateway
address in the “Gateway Address” field under
the Gateway options group.
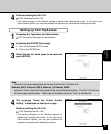
4
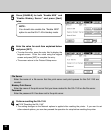
Click on [SETUP] to save settings.
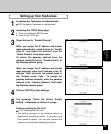
5
The message “Reset the Printer Enable
Setting” is displayed on the top of a page.
Perform resetting the GA-1140.
P125 “Resetting the GA-1140”
• The setting changes on the Network options is
applied after resetting the printer. If you want to set
other network options, you can also proceed the
operation for setup before resetting the printer.