


56
5
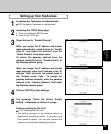
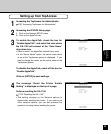
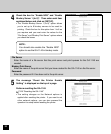
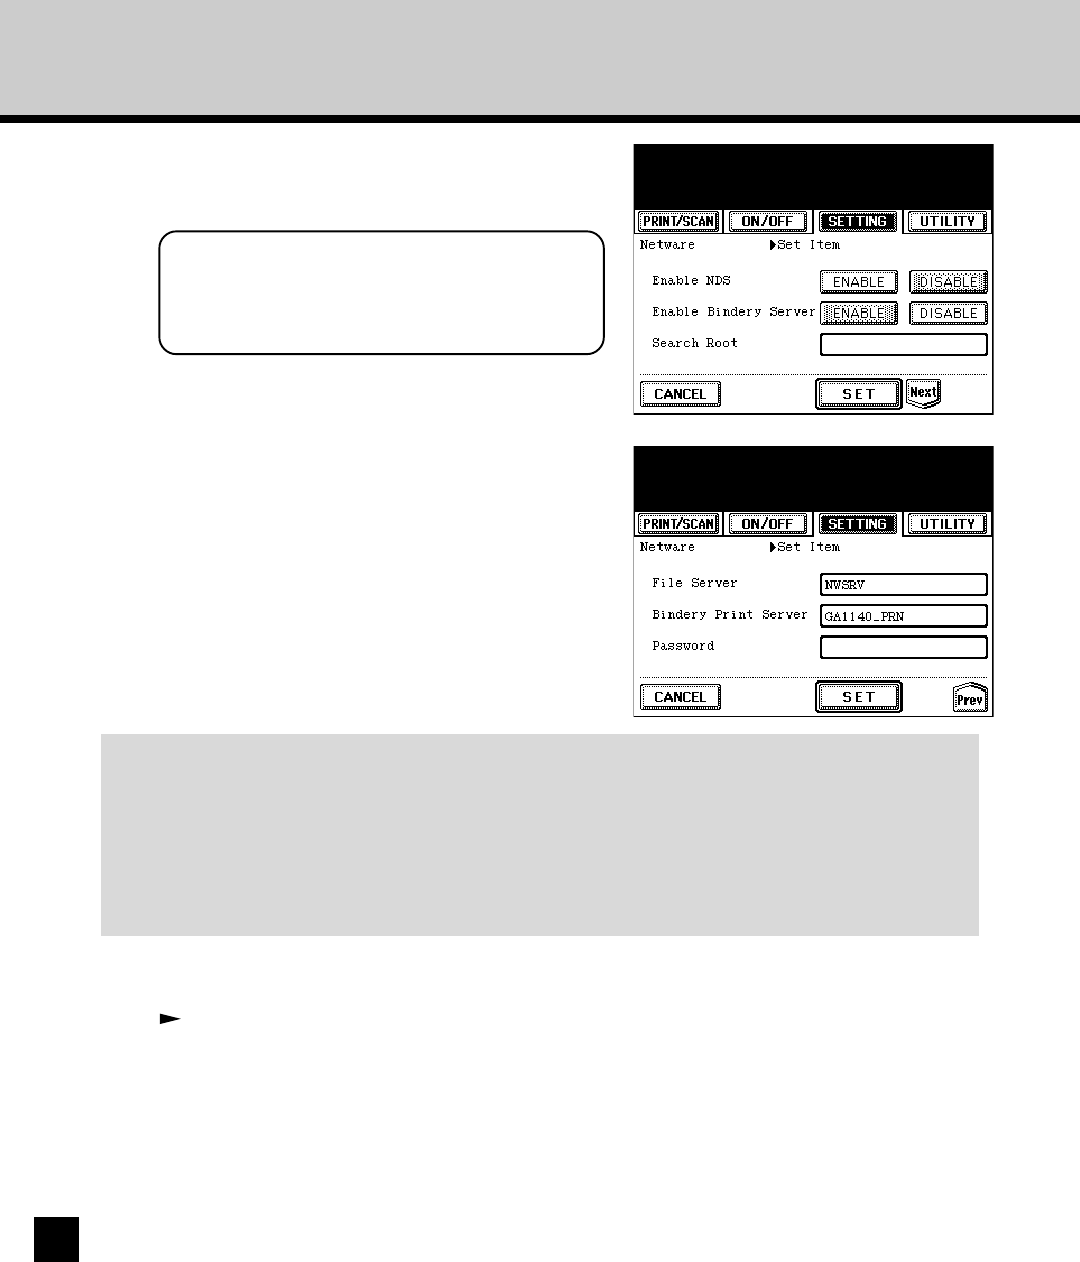
Press [ENABLE] for both “Enable NDS” and
“Enable Bindery Server” and press [Next]
twice.
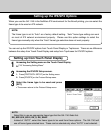
NOTE:
You should also enable the “Enable NDS”
option to use the GA-1140 in bindery mode.
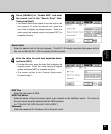
6
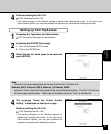
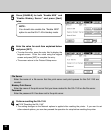
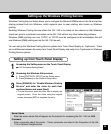
Enter the value for each item explained below
and press [SET].
• To enter the value, press the entry field to display the
keypad screen. Enter the value using the keypad
screen and press [SET] to complete the entry.
• The screen returns to the Protocol Setup menu.
File Server
Enter the name of a file server that the print server and print queues for the GA-1140 are
created.
Bindery Print Server
Enter the name of the print server that you have created for the GA-1140 on the file server.
Password
Enter the password if it has been set to the print server.
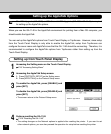
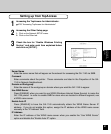
4
Perform resetting the GA-1140.
P109 “Resetting the GA-1140”
• The setting changes on the Network options is applied after resetting the printer. If you want to set
other network options, you can also proceed the operation for setup before resetting the printer.