


50
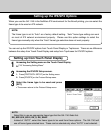
Setting up the IPX/SPX Options
When you use the GA-1140 in the NetWare IPX environment for the Novell printing, you can select the
frame type to be used on IPX network.
NOTE:
The frame type is set to “Auto” as a factory default setting. “Auto” frame type setting can work
on most of IPX network environment properly. Please use this option settings to select the
frame type manually only when the “Auto” frame type selection does not work properly.
You can set up the IPX/SPX options from Touch Panel Display or TopAccess. There are no difference
between the setup from Touch Panel Display and setup from TopAccess for IPX/SPX options.
Setting up from Touch Panel Display
1
Accessing the Setting menu on the Touch Panel Display.
P18 “Accessing Setting Menu”
2
Accessing the IPX/SPX Setup screen.
1. Press [PROTOCOL SETUP] on the Setting menu.
2. Press [IPX/SPX] on the Protocol Setup menu.
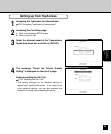
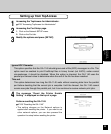
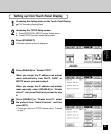
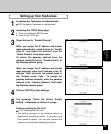
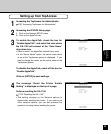
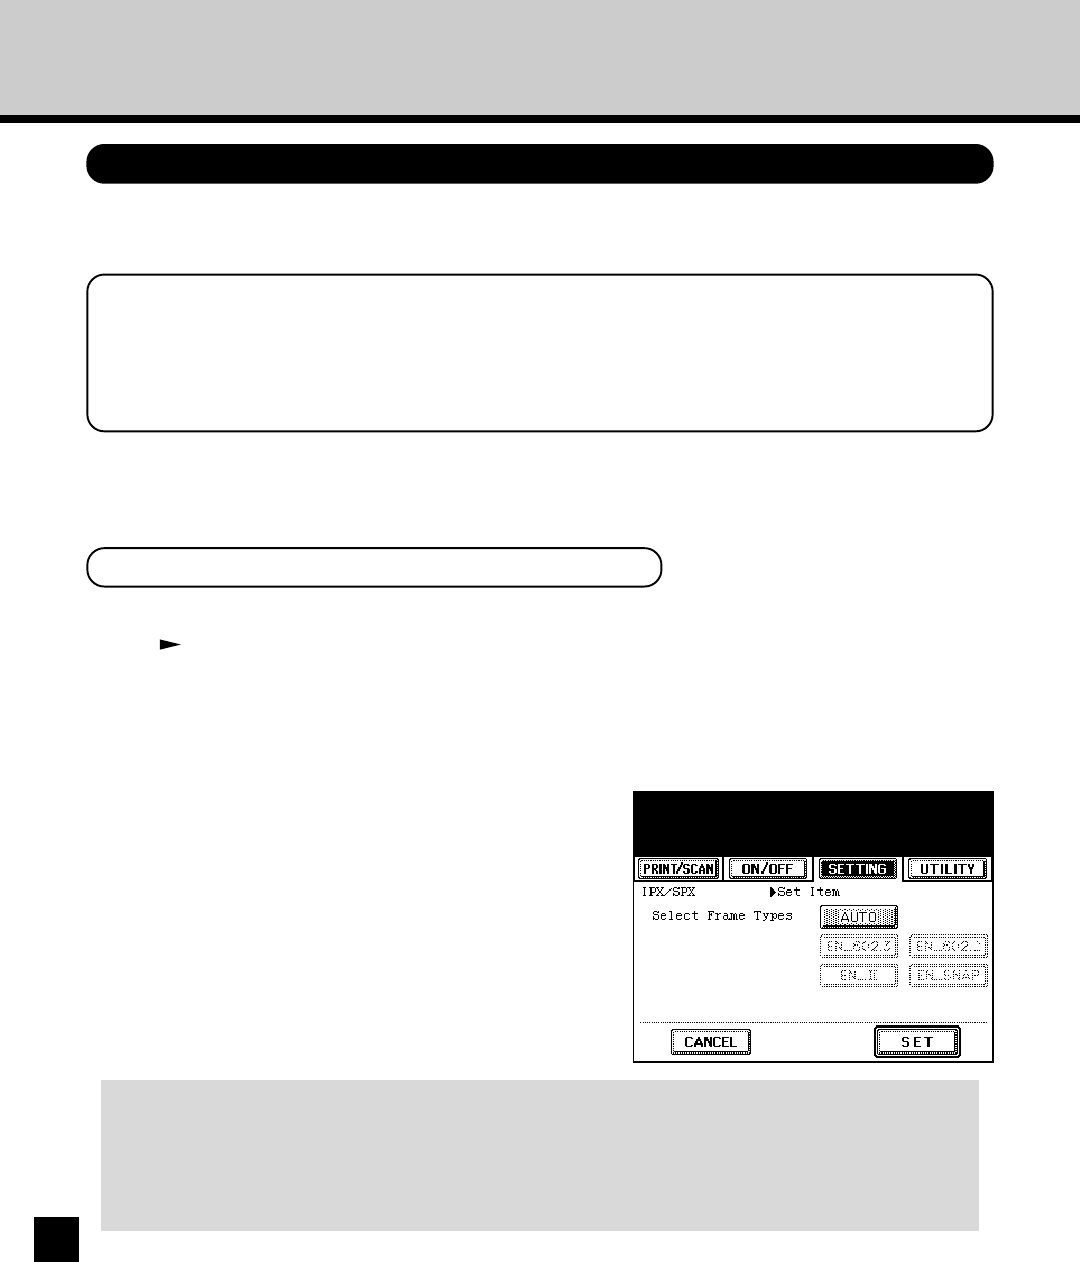
3
Select the frame type to be used and press
[SET].
• The screen returns to the Protocol Setup menu.
AUTO
Select this to use an appropriate frame type that the GA-1140 finds first.
EN_802.3,EN_802.2, EN_II, EN_SNAP
Instead of “AUTO”, select the frame types to be used from these options. The GA-1140 will
use all frame types selected here. These can be selected only when “AUTO” is not selected.