............................................................................................................................................................................................................................................................
The SMT User Files PanelCreating and Managing User Profiles with Files
19-10
365-360-001R6.0
Issue 1, December 2008
............................................................................................................................................................................................................................................................
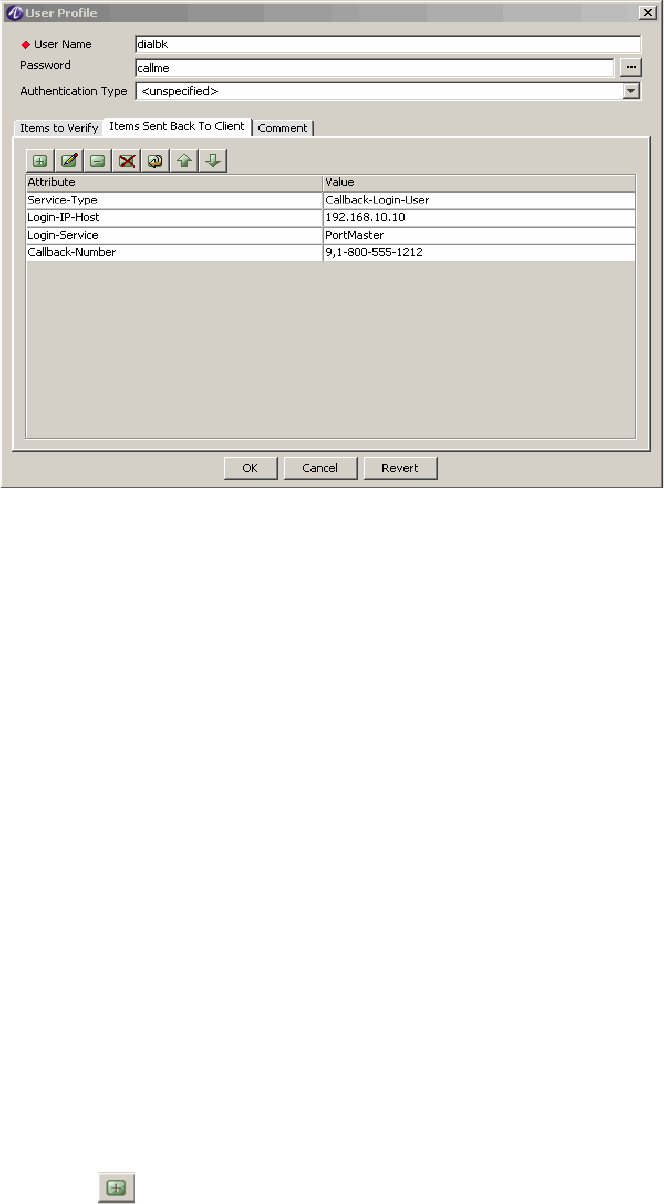
Figure 19-11 User Profile
Setting Verification Attributes for a User
You may assign verification attributes to a user’s profile to allow the server to perform
additional authorization checks unique to this user. When using the PolicyAssistant this is
normally not necessary.
If you use the PolicyAssistant to create policies, you can assign an attribute set that can
provide the same functionality as verification attributes. If a conflict occurs, the
attributes in the user’s profile take precedence over the attribute set defined for the
policy.
An attribute set provides a list of attributes that you can use for all users using the same
policy. For example, if all your users must dial the same access number you must enter
the Called-Station-Id attribute in all your user profiles. However, if you create an
attribute set with this attribute and other common attributes, you only need to enter this
once.
Attribute sets also provide a single point for updates. Instead of editing all your user
profiles when the area code changes, you can change it once in the attribute set.
Use the following procedure to set verification attributes:
1. From the User Files window, open an existing user profile or create a new user profile,
as described previously.
2. From the User Profiles window, click the Items to Verify tab to add verification
attributes for this user.
3. Click the Insert a record button to open the Attribute Properties dialog as shown
in Figure 19-12.


