


The SMT User Files PanelCreating and Managing User Profiles with Files
............................................................................................................................................................................................................................................................
365-360-001R6.0
Issue 1, December 2008
19-11
............................................................................................................................................................................................................................................................
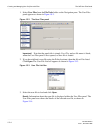
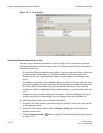
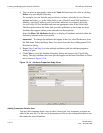
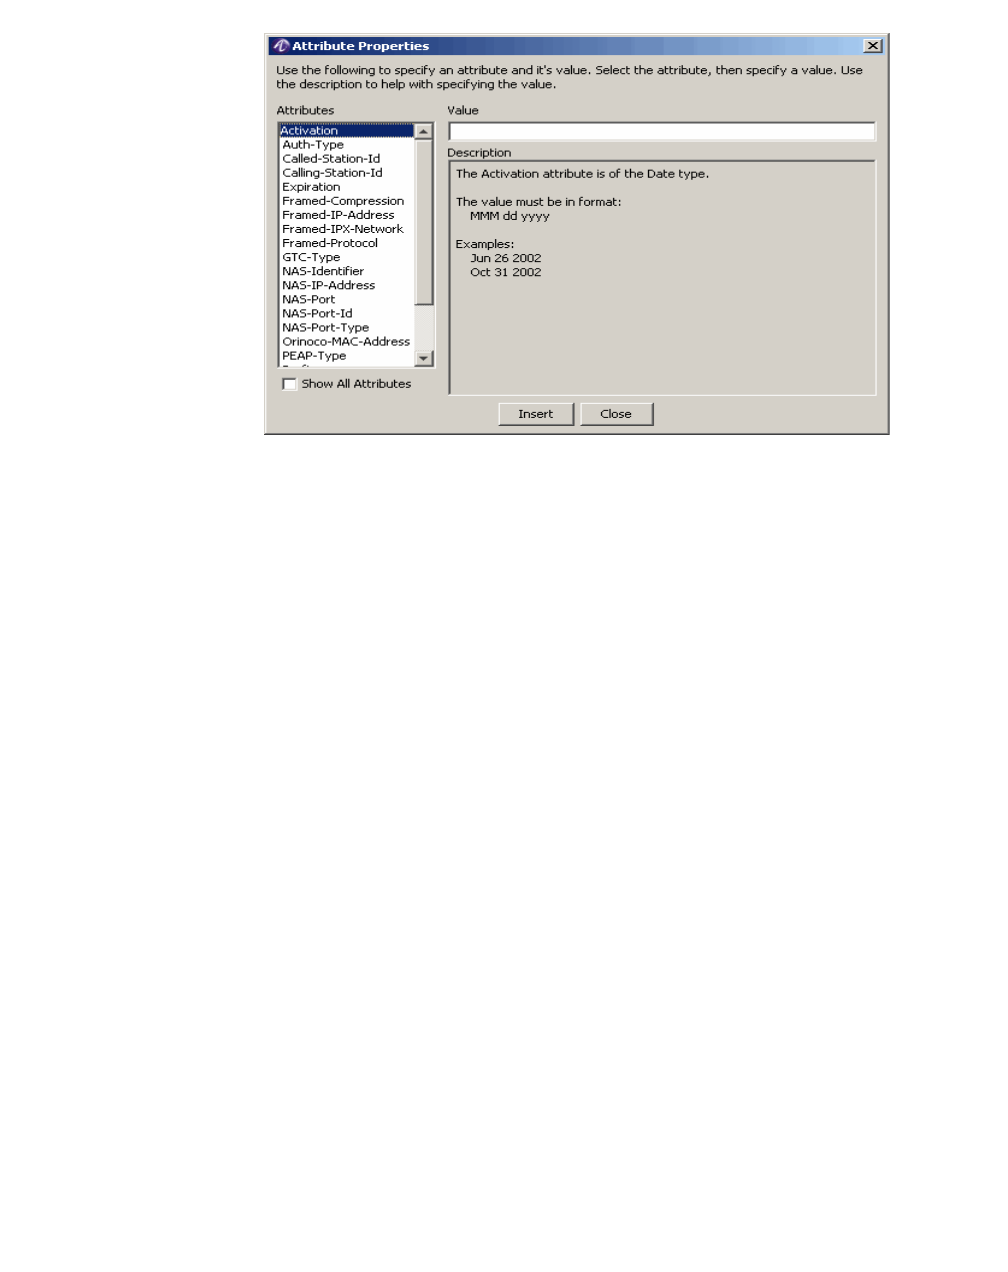
Figure 19-12 Attribute Properties Dialog
4. Select an attribute from the Attributes list. Depending upon the chosen attribute, the
Value field will either be a text field or a drop-down list of possible values.
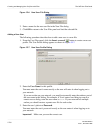
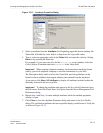
5. Type or select an appropriate value in the Value field and enter the value by clicking
Insert or by pressing the Enter key.
For example, if your users can only dial the 650-555-1212 access number, select the
Called-Station-Id attribute and enter 6505551212 in the Value field.
Important! When entering telephone numbers, the format must match the format
used by your local telephone company to send the information to your NAS.
The Description field, which is below the Value field, provides guidelines on the
format for those attributes that support arbitrary data entered from the keyboard.
As an option, click Show All Attributes to display all attributes included within the
dictionary selected in the server profile.
Important! To change the attributes that appear in this list, select Preferences from
the Edit menu. Select the Check Items List option from the Server Management Tool
Preferences dialog.
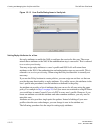
6. Repeat Step 4 and Step 5 to enter multiple attributes while the attribute properties
window is open.
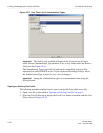
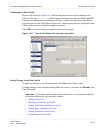
7. Click Close to close the Attribute Properties dialog and return to the User Profile
dialog. The verification attributes that were specified display on the Items to Verify tab
as shown in Figure 19-13.