


13-3
User Guide for Cisco Digital Media Manager 5.4.x
OL-15762-05
Chapter 13 Organize DMPs in Groups
Procedures
Procedures
•
Add and Edit DMP Groups, page 13-3
•
Delete DMP Groups, page 13-4
•
Add DMPs Manually to DMP Groups, page 13-5
•
Remove DMPs Manually from DMP Groups, page 13-5
•
Filter the DMP List Table, page 13-6
Add and Edit DMP Groups
Note DMM uses TCP port 7777 to communicate with DMPs. This port is open on DMPs. You cannot close it.
When you create or edit a DMP group, the least that you must do is name the group. In addition, you can
populate the group automatically with all of the DMPs in any CIDR address range that you specify, or you
can manually add DMPs to a group.
Tip You can save a named group for use in the future, even if you have not yet assigned any DMPs to it.
Before You Begin
•
Log in to DMM.
Procedure
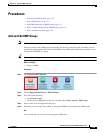
Step 1
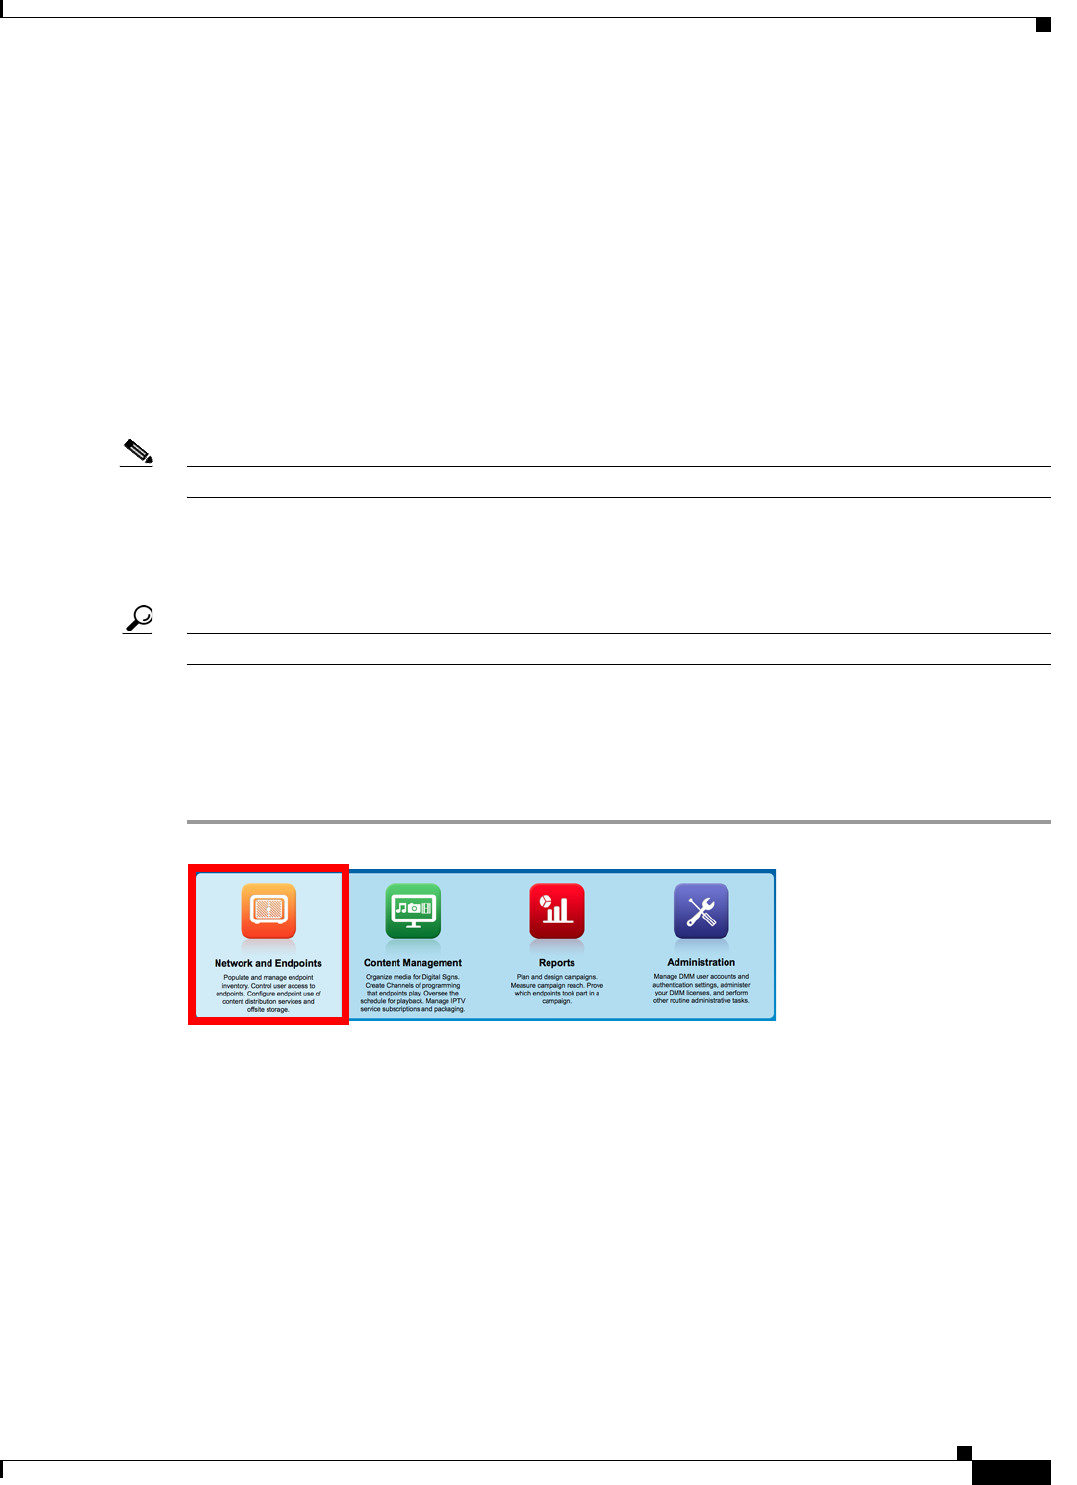
Click Network and Endpoints.
Step 2
Choose Digital Media Players > DMP Manager.
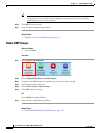
Step 3
Do either of the following.
•
Click Create Group.
•
Click a group to highlight it in the tree, and then choose More Actions > Edit Group.
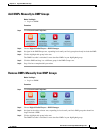
Step 4
Enter a name and a description for the group.
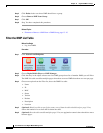
Step 5
Define the network ranges from which to autoregister DMPs that should join this DMP group.
OR
You can skip this step if you will not autoregister DMPs now.