17-10
User Guide for Cisco Digital Media Manager 5.4.x
OL-15762-05
Chapter 17 Media Assets and Embedded Software
Procedures
You Can Disable the Timeout on One DMP in Isolation
Alternatively, you can use either of these methods to disable the timeout on one DMP at a time.
•
Point your desktop browser to
https://admin:<password>@<DMP_FQDN>:7777/set_param?video.force_wget_use=0&mib.s
ave=1, where:
–
<DMP_FQDN> is the DNS-resolvable hostname for exactly this DMP.
–
<password> is whichever password you set most recently for this DMP’s admin user.
OR
•
Use DMPDM to point TVzilla (the browser on your DMP) to
https://admin:<password>@localhost:7777/set_param?video.force_wget_use=0&mib.save=1,
where <password> is whichever password you set most recently for this DMP’s admin user.
Note To reenable the timeout on one DMP in isolation, change the set_param command string to:
video.force_wget_use=1&mib.save=1.
Procedures
•
Work with Assets and Categories in Your Media Library, page 17-10
•
Add One Asset at a Time to Your Media Library, page 17-11
•
Add Multiple Assets Simultaneously to Your Media Library, page 17-12
Work with Assets and Categories in Your Media Library
Procedure
Step 1
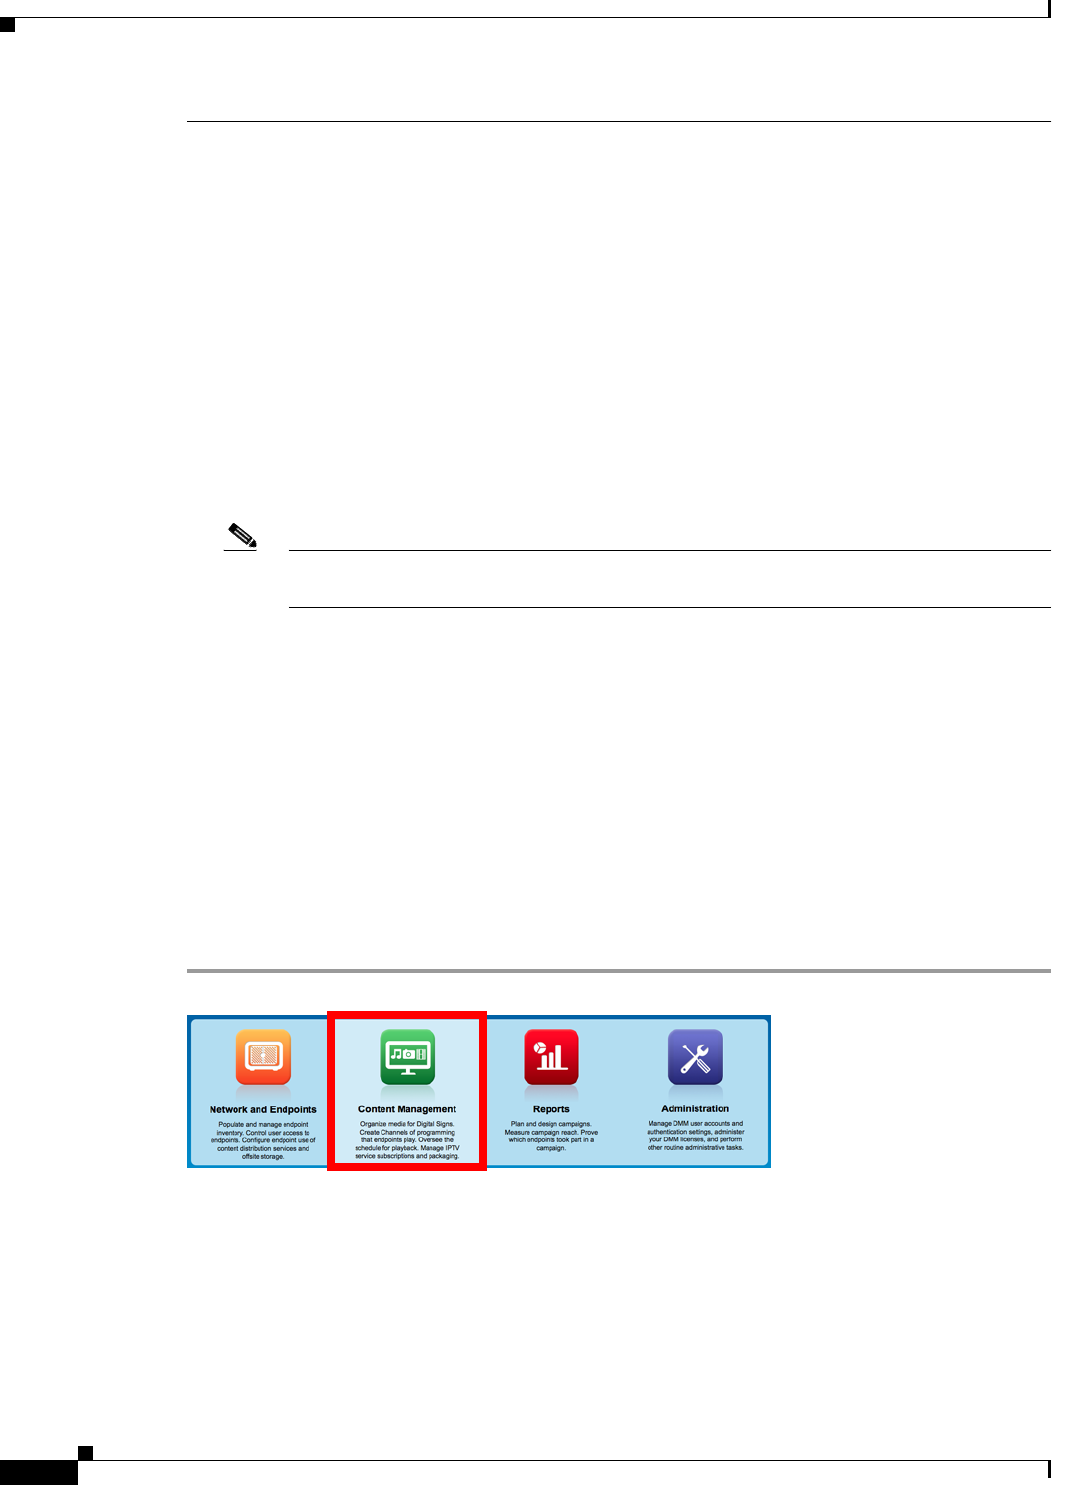
Click Content Management.
Step 2
Click Media Library.
A tree on the left side of the Media Library page names the types of media that are supported and shows
the hierarchy of categories that you have created to organize assets without regard for their media type.
Step 3
Click the name of a media type or of a category.
An untitled table on the right side of the page is updated automatically to describe assets of the relevant
type that your library contains.
