


142 Adding and Replacing Parts
www.dell.com | support.dell.com
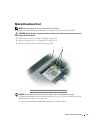
NOTICE: Use firm and even pressure to slide the drive into place. If you use excessive force, you may
damage the connector.
6
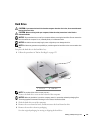
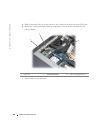
Attach the bezel to the new drive with the screw.
7
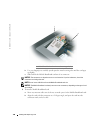
Slide the hard drive into the bay until it is fully seated.
8
Replace and tighten the screws.
9
Use the
Operating System
media to install the operating system for your computer (see "Using
the Operating System Media" on page 121).
10
Use the
Drivers and Utilities
media to install the drivers and utilities for your computer (see
"Reinstalling Drivers and Utilities" on page 116).
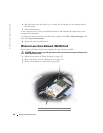
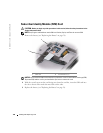
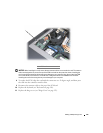
Media Bay
NOTE: If the device locking screw is not present, you can remove and install devices while the computer
is running and connected to a docking device (docked).
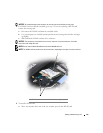
Removing Media Bay Devices
NOTICE: To prevent damage to devices, store them in a safe, dry place when they are not installed in the
computer. Avoid pressing down on them or placing heavy objects on top of them.
1
If present, remove the device locking screw from the bottom of the computer.
2
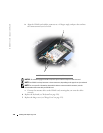
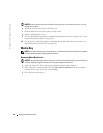
If the computer is running, double-click the
Safely Remove Hardware
icon on the taskbar,
click the device you want to eject, and click
Stop
.
3
Press the device latch release.