138 Fortinet Inc.
Customizing alert emails System configuration
Customizing alert emails
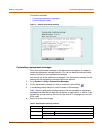
Customize alert emails to control the content displayed in alert email messages sent
to system administrators.
1 Go to System > Config > Replacement Messages.
2 For the alert email message you want to customize, select Modify .
3 In the Message setup dialog box, edit the text of the message.
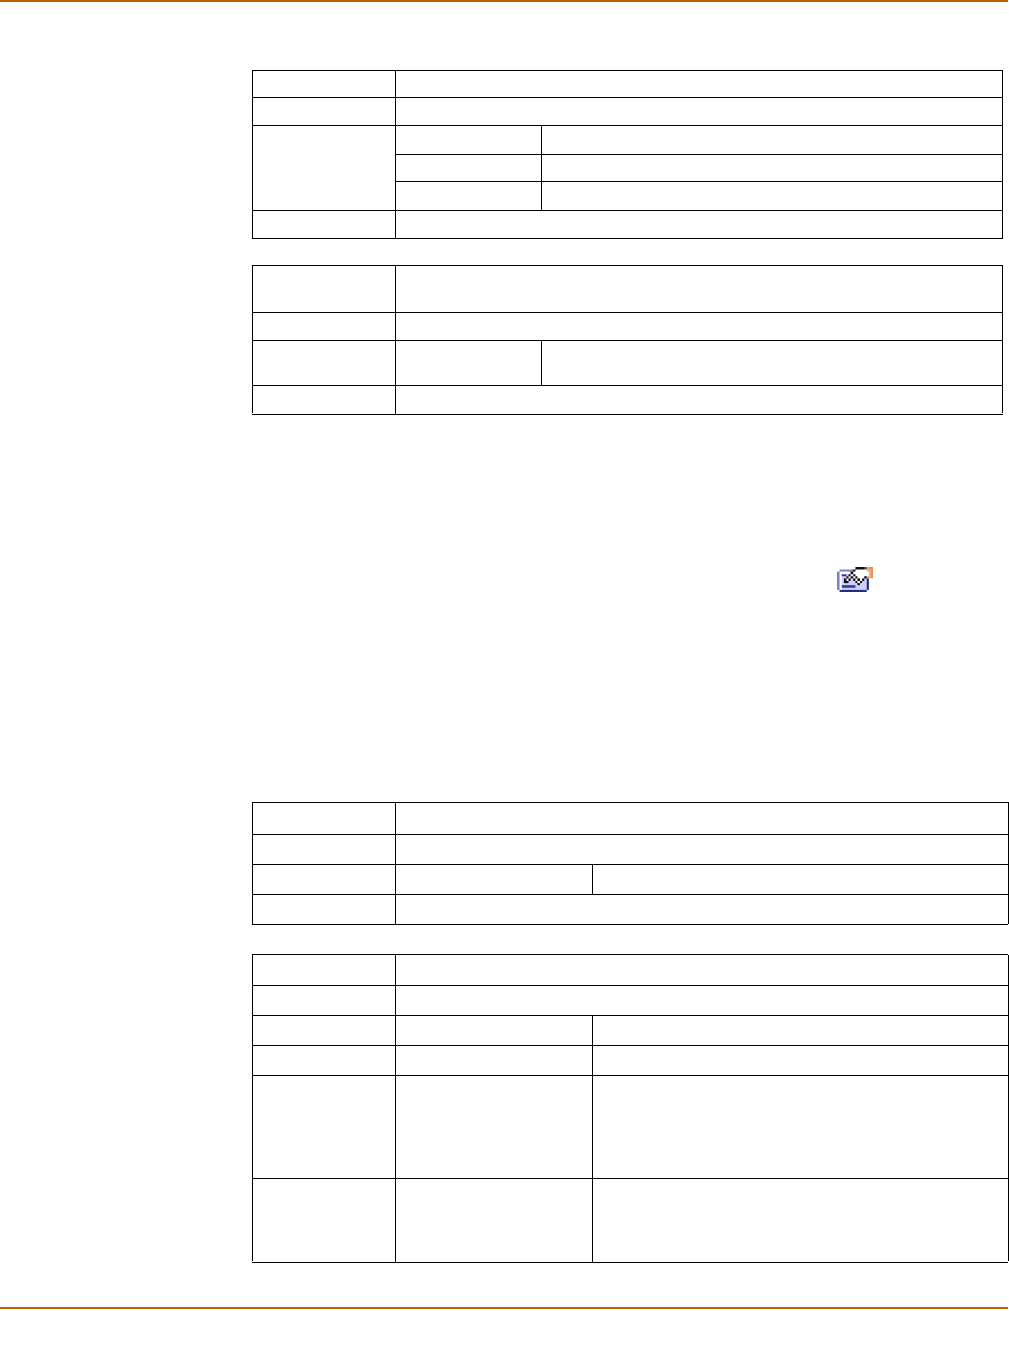
Table 4 lists the replacement message sections that can be added to alert email
messages and describes the tags that can appear in each section. In addition to the
allowed tags you can add any text and HTML code.
4 Select OK to save the changes.
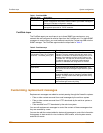
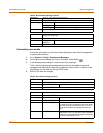
Scanning Used for virus scanning (all services).
Section Start <**INFECTED**>
Allowed Tags %%FILE%% The name of the file that was infected.
%%VIRUS%% The name of the virus infecting the file.
%%URL%% The URL of the blocked web page or file.
Section End <**/BLOCKED**>
Quarantine Used when quarantine is enabled (permitted for all scan services and block
services for email only).
Section Start <**QUARANTINE**>
Allowed Tag %%QUARFILE
NAME%%
The name of the file that was quarantined.
Section End <**/QUARANTINE**>
Table 3: Replacement message sections
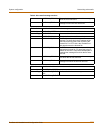
Table 4: Alert email message sections
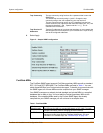
NIDS event
Used for NIDS event alert email messages
Section Start <**NIDS_EVENT**>
Allowed Tags %%NIDS_EVENT%% The NIDS attack message.
Section End <**/NIDS_EVENT**>
Virus alert
Used for virus alert email messages
Section Start <**VIRUS_ALERT**>
Allowed Tags %%VIRUS%% The name of the virus.
%%PROTOCOL%% The service for which the virus was detected.
%%SOURCE_IP%% The IP address from which the virus was received.
For email this is the IP address of the email server
that sent the email containing the virus. For HTTP
this is the IP address of web page that sent the
virus.
%%DEST_IP%% The IP address of the computer that would have
received the virus. For POP3 this is the IP address
of the user’s computer that attempted to download
the email containing the virus.


