58 Fortinet Inc.
Changing to Transparent mode Transparent mode installation
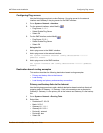
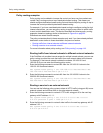
Using the setup wizard
From the web-based manager, you can use the setup wizard to create the initial
configuration of your FortiGate unit. To connect to the web-based manager, see
“Connecting to the web-based manager” on page 30.
Changing to Transparent mode
The first time that you connect to the FortiGate unit, it is configured to run in
NAT/Route mode. To switch to Transparent mode using the web-based manager:
1 Go to System > Status.
2 Select Change to Transparent Mode.
3 Select Transparent in the Operation Mode list.
4 Select OK.
The FortiGate unit changes to Transparent mode.
To reconnect to the web-based manager, change the IP address of your management
computer to 10.10.10.2. Connect to the internal or DMZ interface and browse to
https:// followed by the Transparent mode management IP address. The default
FortiGate Transparent mode management IP address is 10.10.10.1.
Starting the setup wizard
1 Select Easy Setup Wizard (the middle button in upper-right corner of the web-based
manager).
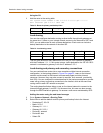
2 Use the information that you gathered in Table 16 on page 57 to fill in the wizard fields.
Select the Next button to step through the wizard pages.
3 Confirm your configuration settings and then select Finish and Close.
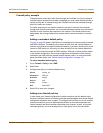
Reconnecting to the web-based manager
If you changed the IP address of the management interface while you were using the
setup wizard, you must reconnect to the web-based manager using the new IP
address. Browse to https:// followed by the new IP address of the management
interface. Otherwise, you can reconnect to the web-based manager by browsing to
https://10.10.10.1. If you connect to the management interface through a router, make
sure that you have added a default gateway for that router to the management IP
default gateway field.


