Actions (for Windows Users)
115
5. Press the [Scan] button on the ScanSnap to start a scan.
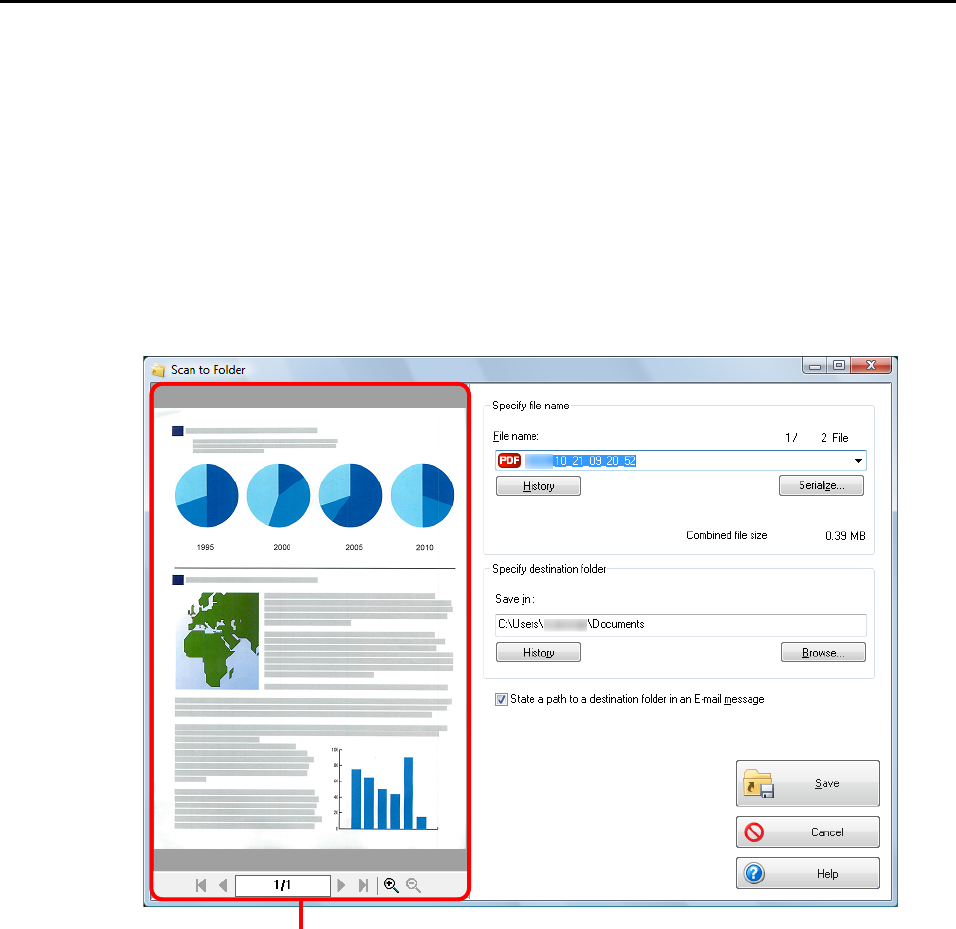
D The [Scan to Folder] dialog box appears when the scanning is completed.
6. Check the scanned image in the preview area.
In the [Scan to Folder] dialog box, you can change files names, destination folders, and
specify whether to state a path to a destination folder in an e-mail message to notify
others.
For details about the [Scan to Folder] dialog box, refer to the ScanSnap Manager Help.
Preview


