Cloud Services (for Mac OS Users)
408
4. Click the [Scan to SugarSync] icon .
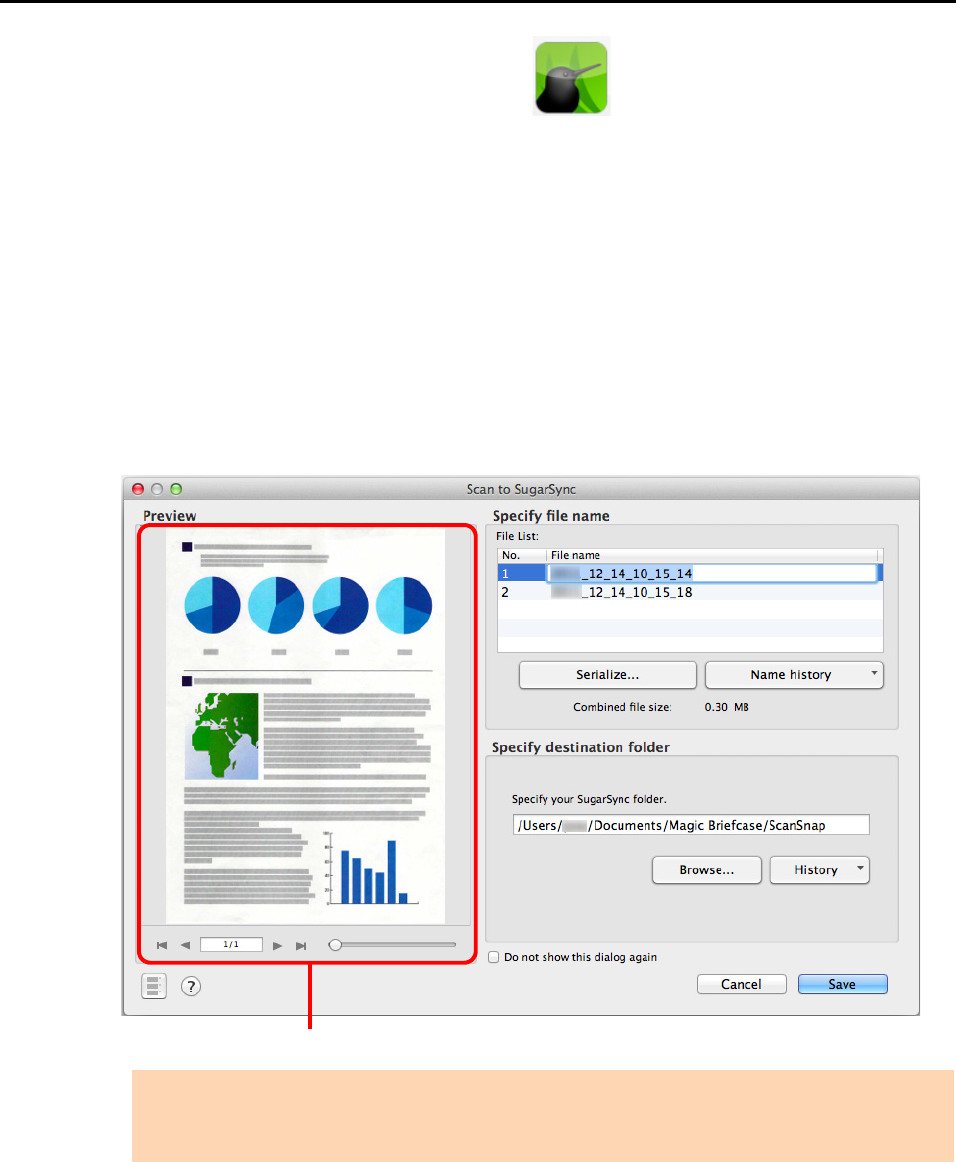
D The [Scan to SugarSync] window appears.
If you clear the [Show preview] checkbox in step 3., the scanned image is directly
saved to your SugarSync folder.
5. Check the scanned image in the preview area.
In the [Scan to SugarSync] window, you can rename the file and specify your
SugarSync folder.
For details about the [Scan to SugarSync] window, refer to the ScanSnap Manager
Help.
ATTENTION
The file will not be synced with SugarSync unless you select a SugarSync folder as the destination
folder.
Preview


