


Actions (for Windows Users)
137
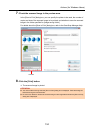
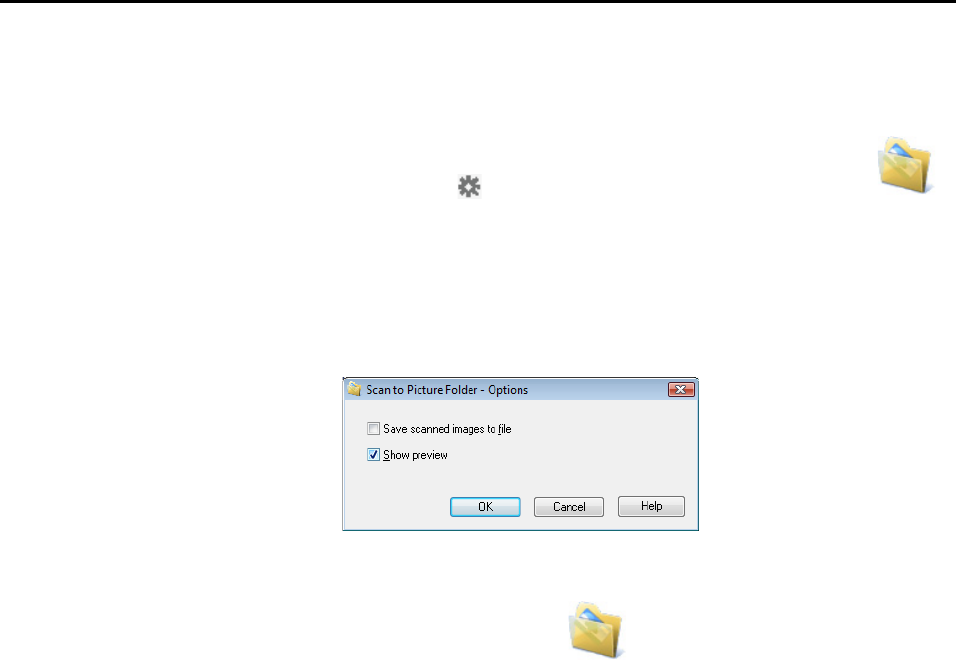
3. Change the settings for [Scan to Picture Folder] (If you do not want to
change any settings, go to step 4.).
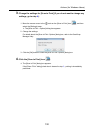
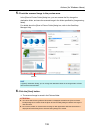
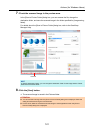
1. Move the mouse cursor to the mark on the [Scan to Picture Folder] icon ,
and then select the [Settings] menu.
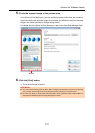
D The [Scan to Picture Folder - Options] dialog box appears.
2. Change the settings.
For details about the [Scan to Picture Folder - Options] dialog box, refer to the
ScanSnap Manager Help.
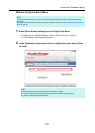
3. Click the [OK] button to close the [Scan to Picture Folder - Options] dialog box.
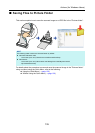
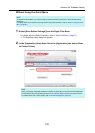
4. Click the [Scan to Picture Folder] icon .
D The [Scan to Picture Folder] dialog box appears.
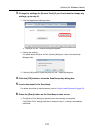
If you clear the [Show preview] check box in step 3., the image data is directly saved
in the Pictures folder.