18 Getting started Back to TOC
To complete your first scan using the scanner buttons
1 Load the item in the scanner. See "To load the item in the scanner"
on page 17.
2 On the scanner, press the Copy button ( ). The scanner
scans the item using settings optimized for printing this type of item
and then prints the item to the default printer.
3 If the scan does not work, or you have difficulty with this process,
please see "Resolving issues that did not generate messages" on
page 87.
If you have not already scanned using the HP Precisionscan Pro
software, see "To complete your first scan using the HP Precisionscan
Pro software" on page 18.
To complete your first scan using the HP Precisionscan Pro software
1 Load the item in the scanner. See "To load the item in the scanner"
on page 17.
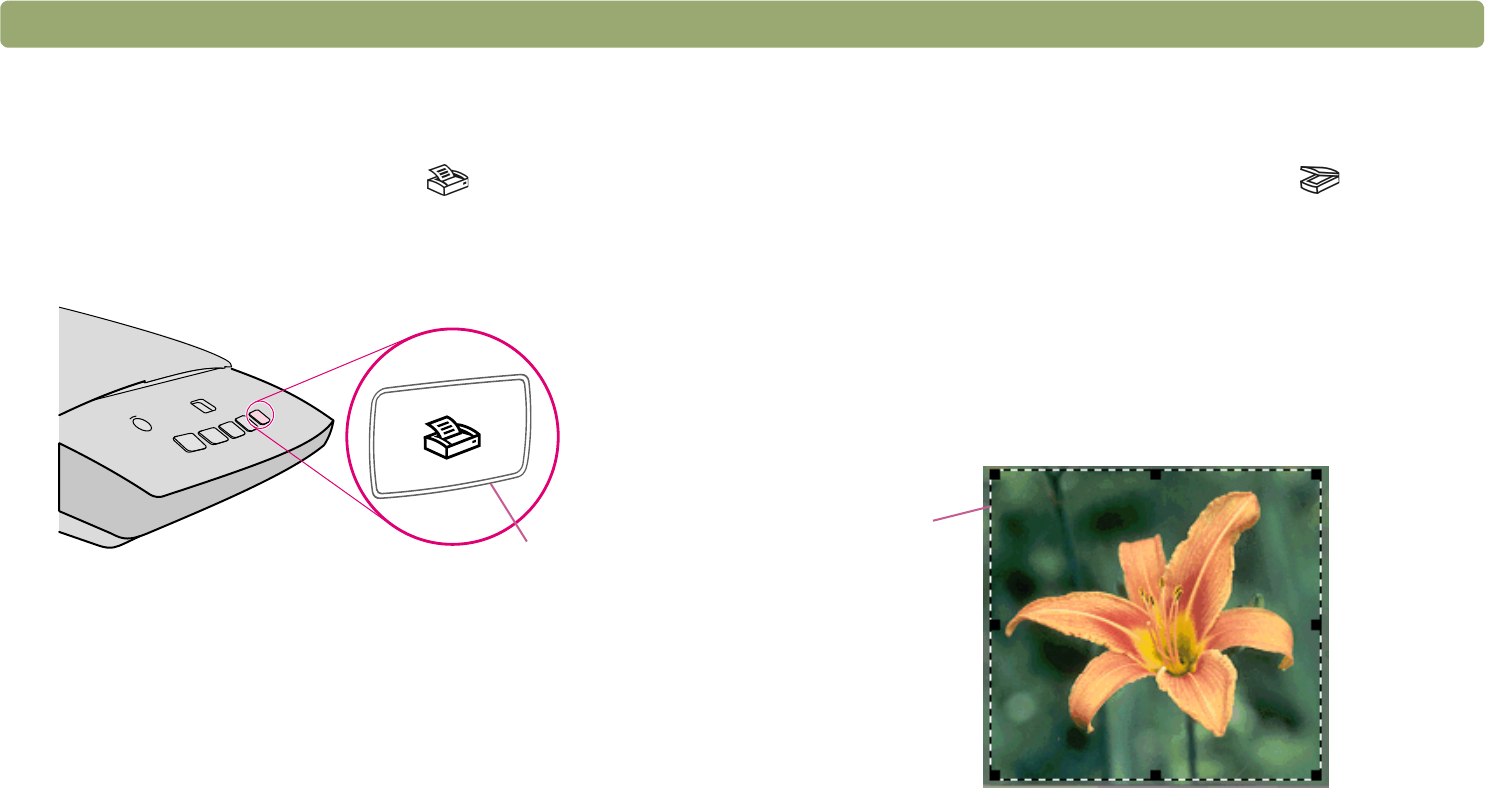
2 With the item loaded, press the Scan To button ( ) on the
scanner. The scanner scans the item to the HP Precisionscan Pro
software, choosing the best settings for this type of item.
3 When the scanned image appears in the preview window of the
software, draw a selection border around the image or the portion
of the image you want. To do so, click on one corner of the area
you want, and while holding down the mouse button, drag the
cursor to the opposite corner. Release the mouse button to
complete the border.
Copy
Selection
border


